
Researching to write about Originalab was a total chore. There, I said it. For a brand that has its products on major online shopping platforms, plus its own web store, there is virtually no information on their story, or how they came to be.
Many of their products seem suspiciously similar in design to other major sneakercare products available in the market, and priced just under its competition. But that can be a whole other post on its own, and we’ll leave the detective work out of this one.
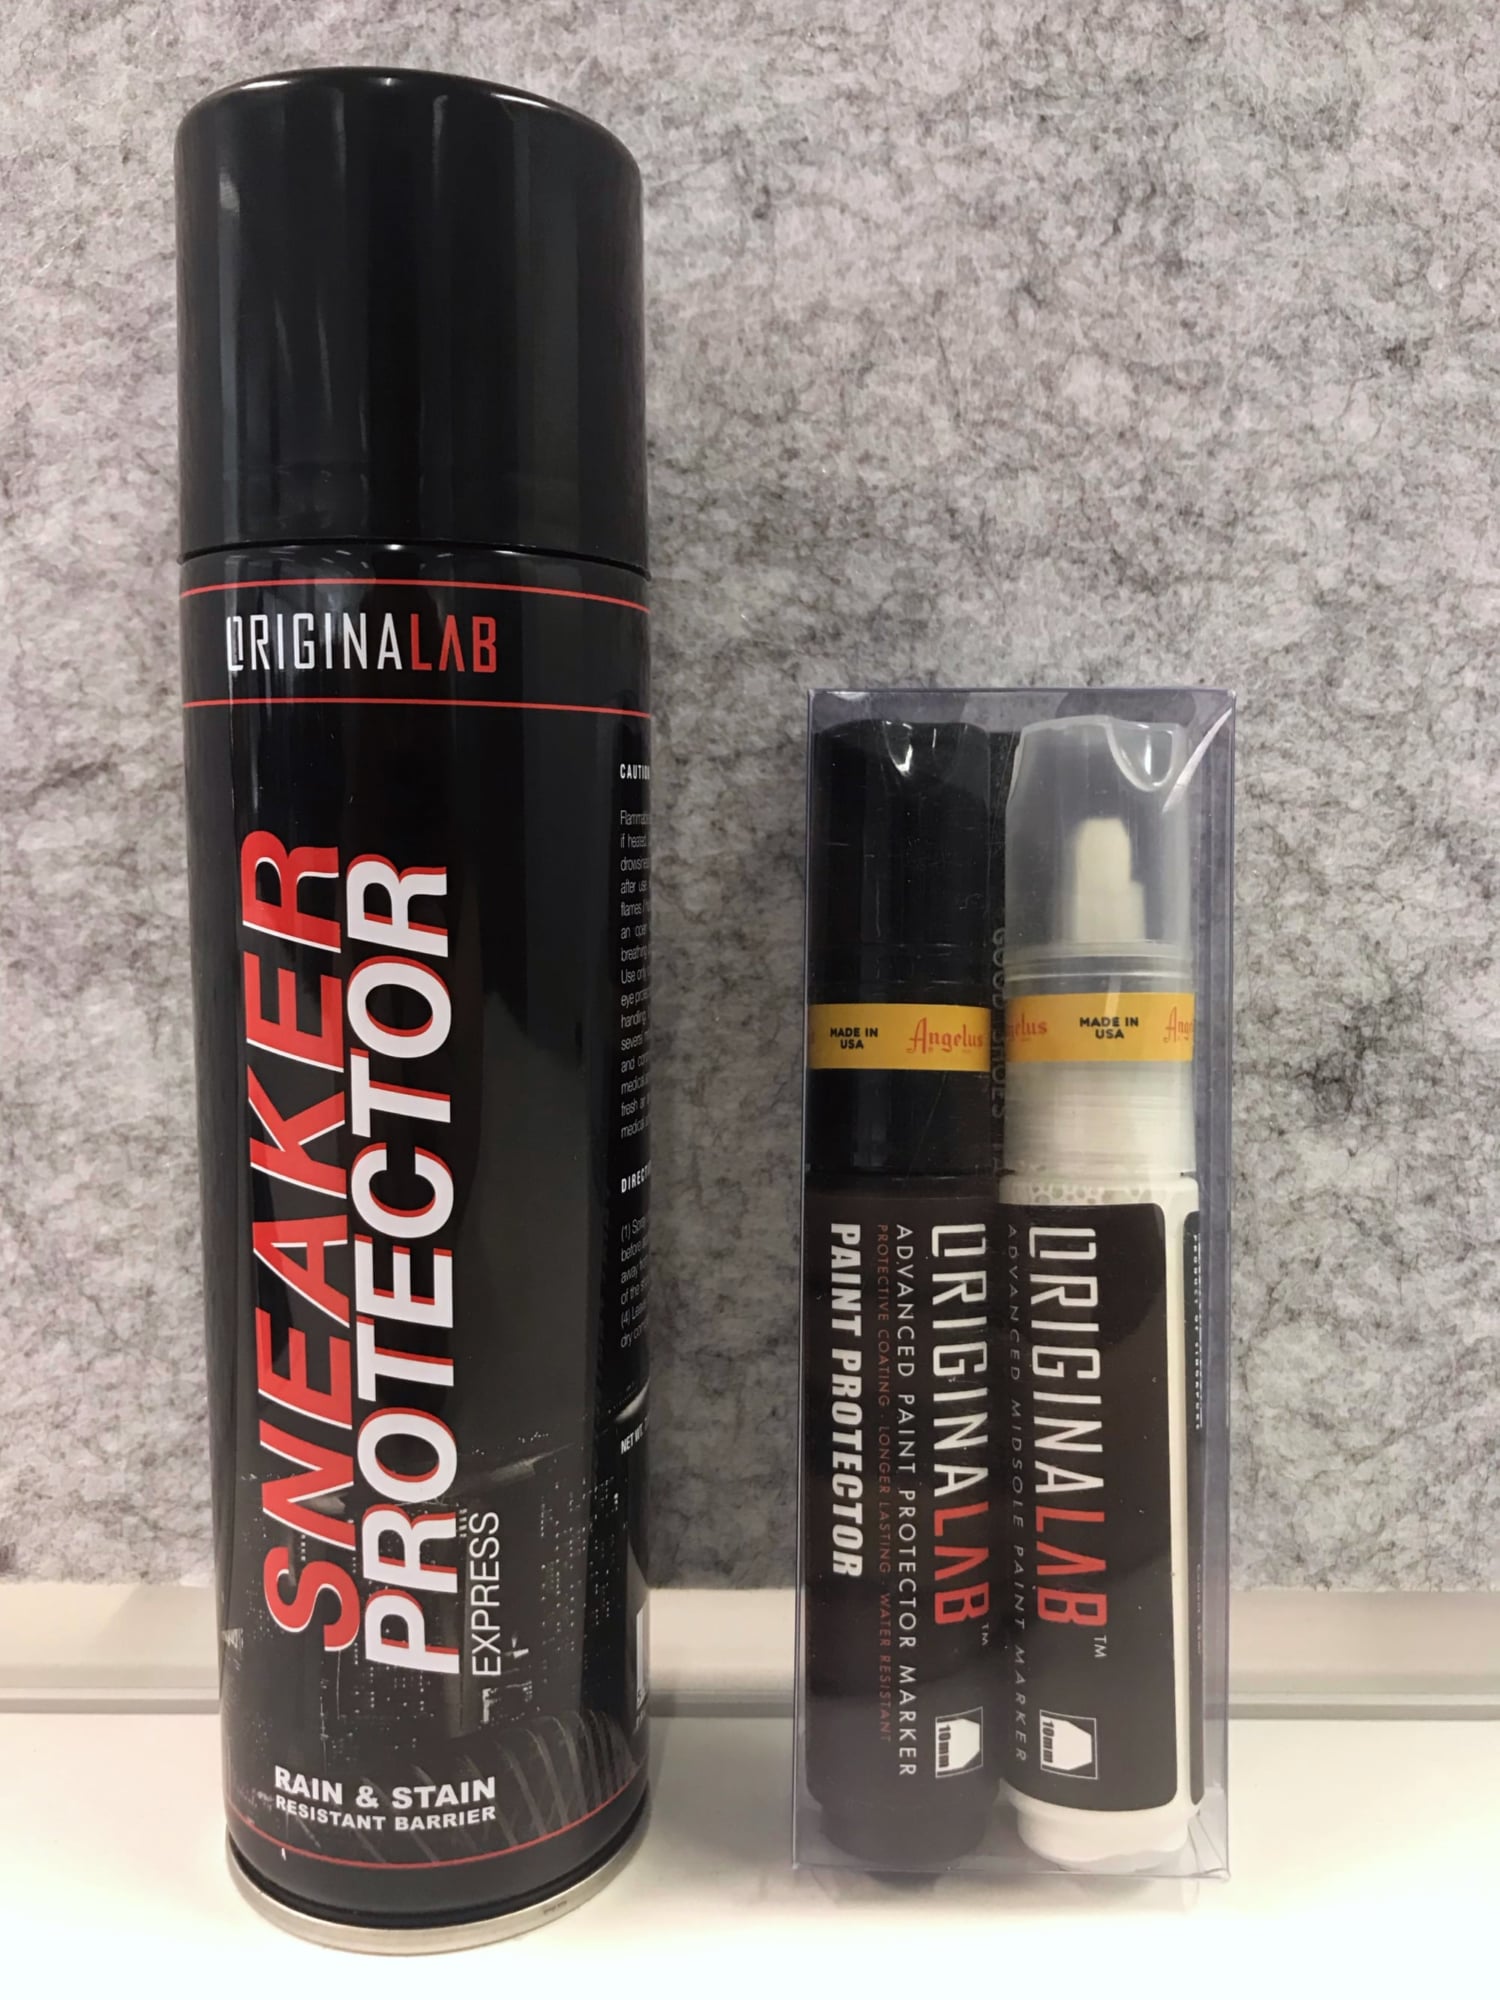
Instead, since I’ve been wanting to restore my NMDs anyway, I figured I’d just get the products, document the process, and let you know how it all went. This time, I got the White Boost Marker + Paint Protector set, and the Sneaker Protector Express water repellent.
Step 1: Washing

For washing, I used Jason Markk’s shoe cleaner solution, because well, I already have it lol. Originalab does have its own cleaning solution, and I’m sorry to disappoint if you were looking for a review on that. Skip forward to Step 2 for midsole painting.
A few quick notes since we’re here: Jason Markk gets a good 2/3 of the dirt off. I haven’t tried other shoe cleaning solutions, but for stains and yellowing that have worked its way deep into the midsole, it’s pretty much impossible to remove with Jason Markk alone. At least, not just with higher soap concentration, and brushing till every part of my arm hurts.
My advice if you are new to shoe cleaning: unless you’re using a super soft premium shoe brush, find an old toothbrush to scrub the upper portions of your shoe. Stiff bristles will just fray the upper material, particularly fabric weaves like Flyknit or Primeknit.
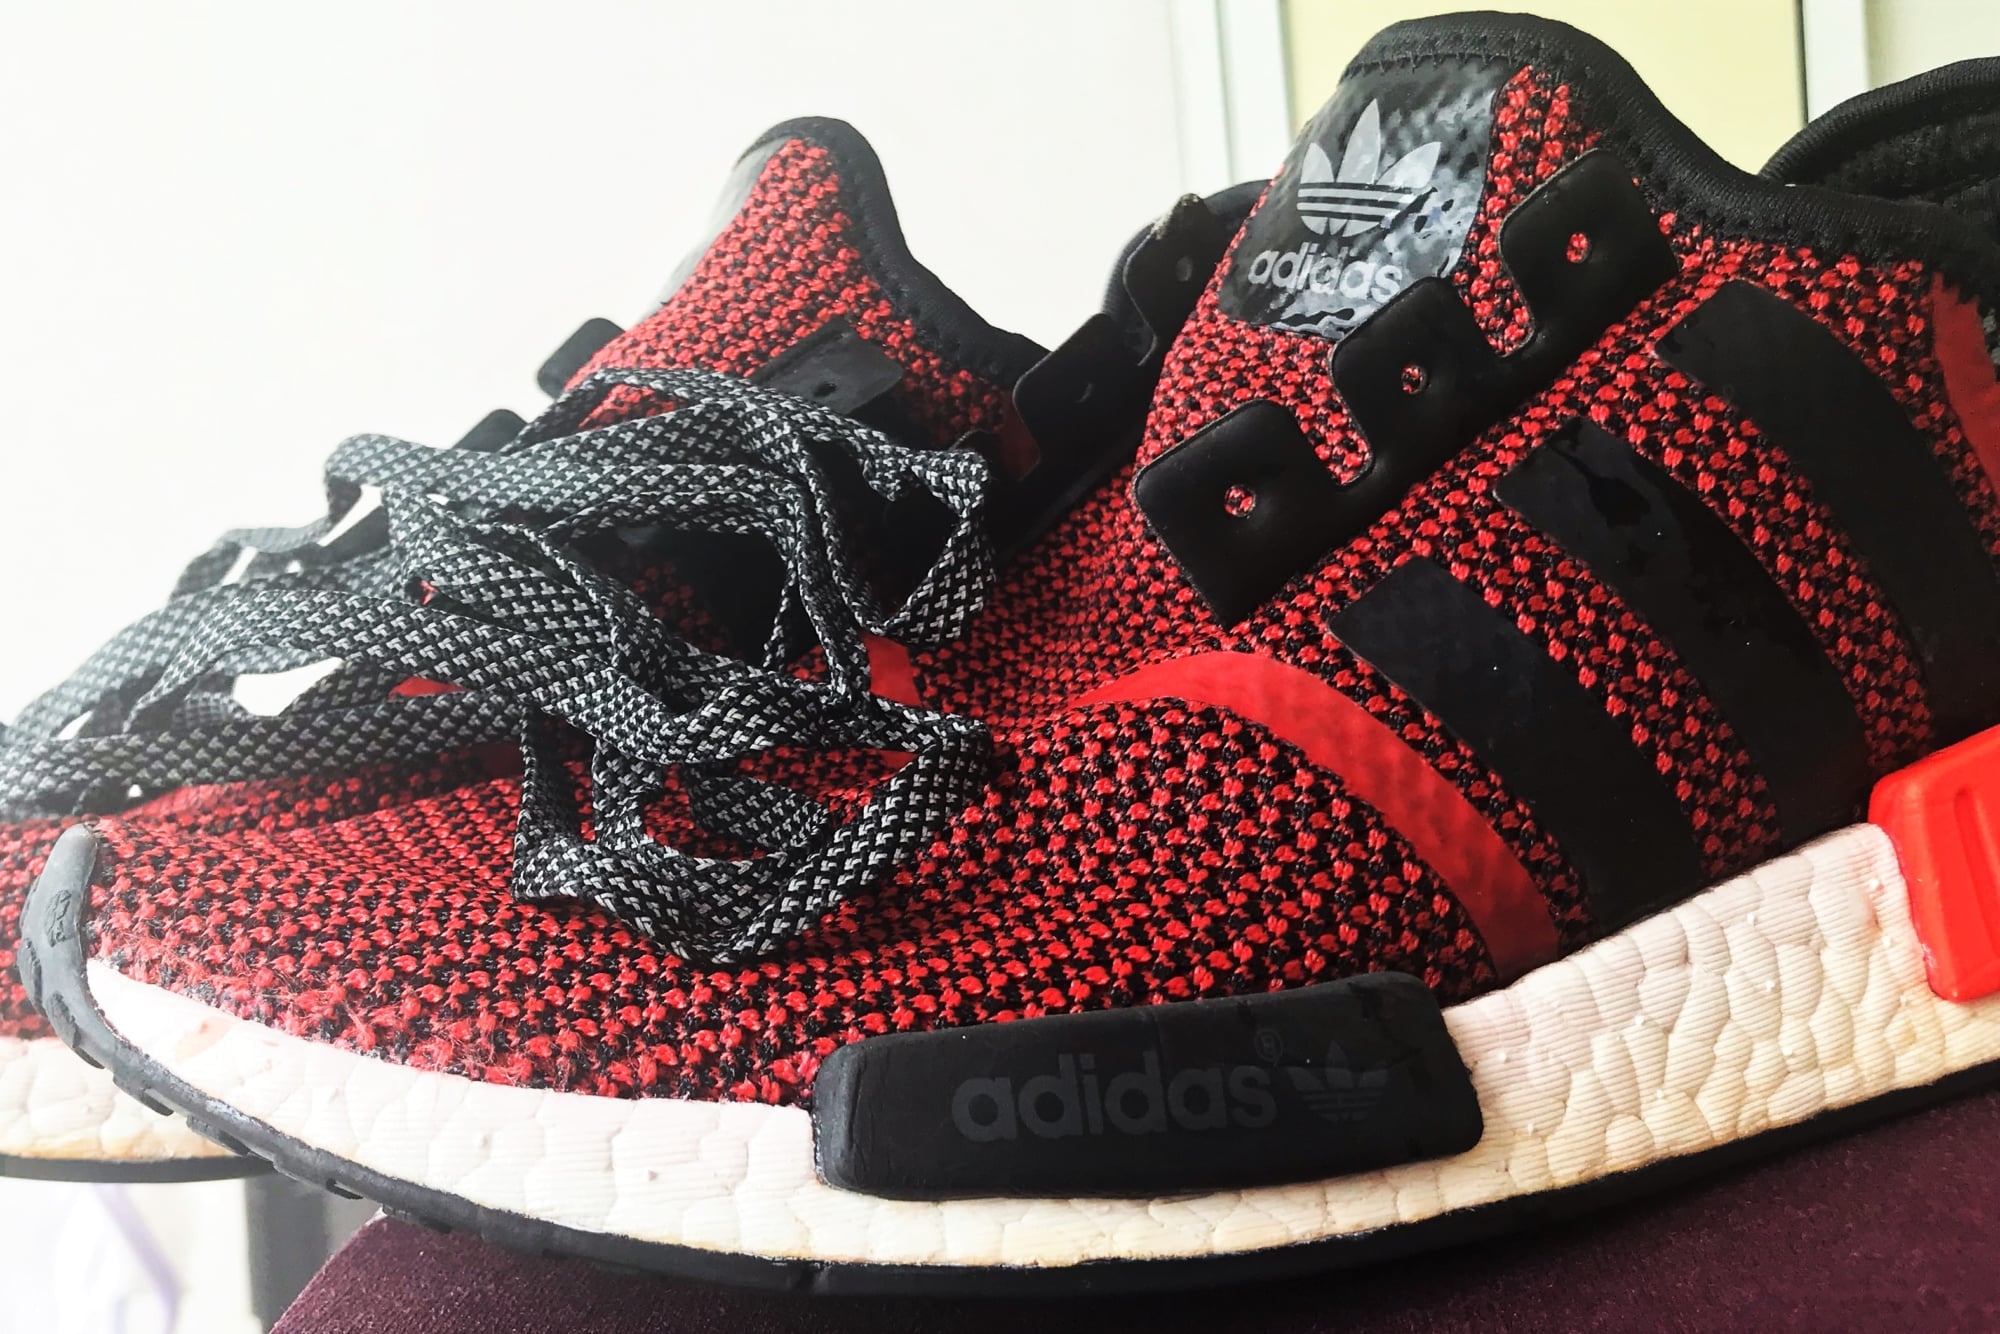
Here’s how it looks after the wash. Already much better, but showing obvious signs of yellowing.
Step 2: Whitening
This is where the first Originalab product comes in – the white midsole marker.
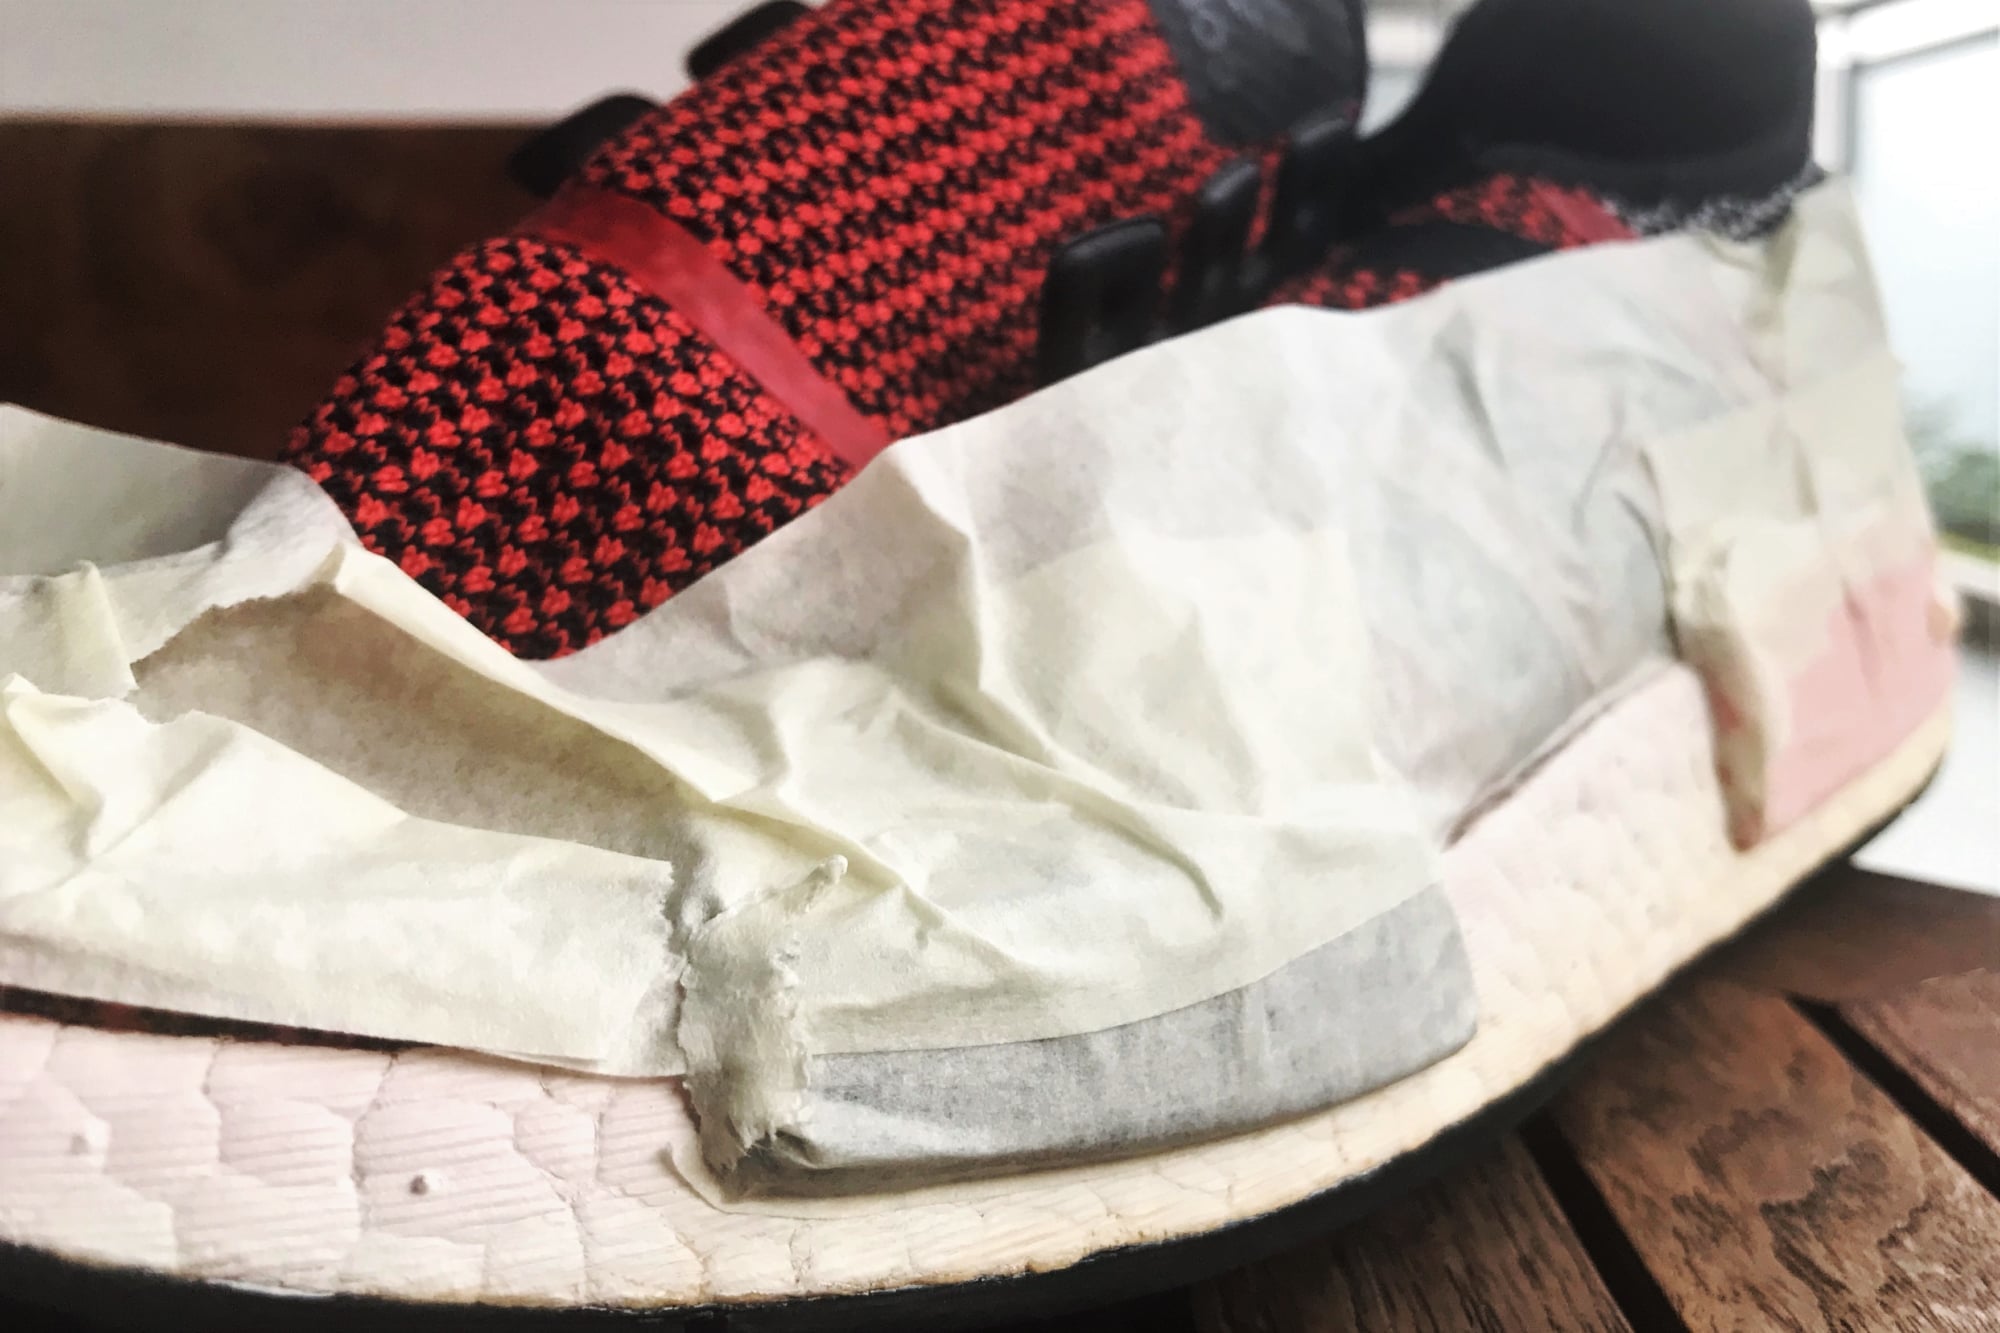
If you’re a first timer or newbie to sneaker restoration, do not be lazy or too eager to get the job done. Get yourself some masking tape (paper type recommended, rather than the thicker vinyl type), and use it to cover up all other differently coloured parts of your shoe. Don’t risk streaking your shoe’s logos or its coloured accents with tough-to-remove paint. Plus, accidents always, always happen. Masking allows you to apply the paint with more confidence and less worry. Here’s how mine looked after masking (before painting).
Applying the white paint with the marker was easy enough. It takes less than 30 seconds after you first plunge the valve action pump to get the paint running through to the tip. After that, flow is mostly constant and continuous. However, if you are on a larger part of the shoe, and feel like you need more paint, depressing the marker tip 1-2 times will dispense enough paint to cover the area.
The 10mm chiseled tip worked nicely for me. You can quite smoothly go from covering large surfaces with the broad tip, to navigating smaller lines by turning the marker tip to the side.
Patience is key here. The paint is thin and flows quite well, so for the smoothest, most natural looking coats, go over the surface repeatedly, rather than dispensing a large amount of paint to then spread around the area. Excess paint can become hard to manage, pooling at the bottom of the sole or other-coloured surfaces. It can also make the layer more prone to cracking or peeling in the future. Have a few cotton buds or soft tissue paper on hand to soak up or wipe away any excess paint as soon as your marker goes out of bounds, or paint smudges.

To paint the bottom part of the midsole with less accidents, particularly if your bottom sole is differently coloured, turn the shoe upside down to paint. This gives you more control as you push the marker upwards, rather than downwards while the shoe is facing right side up.
I made two coats of paint, as per instructions, with the second coat being slightly thicker. For reasons stated above, you may want refrain from doing that, and just paint as you did before. At most, you can always make a third pass if you aren’t satisfied with the cover-up. Once you’re happy with how your sole looks, leave the shoes for 48 hours before using it, or moving on to the next step of restoration.
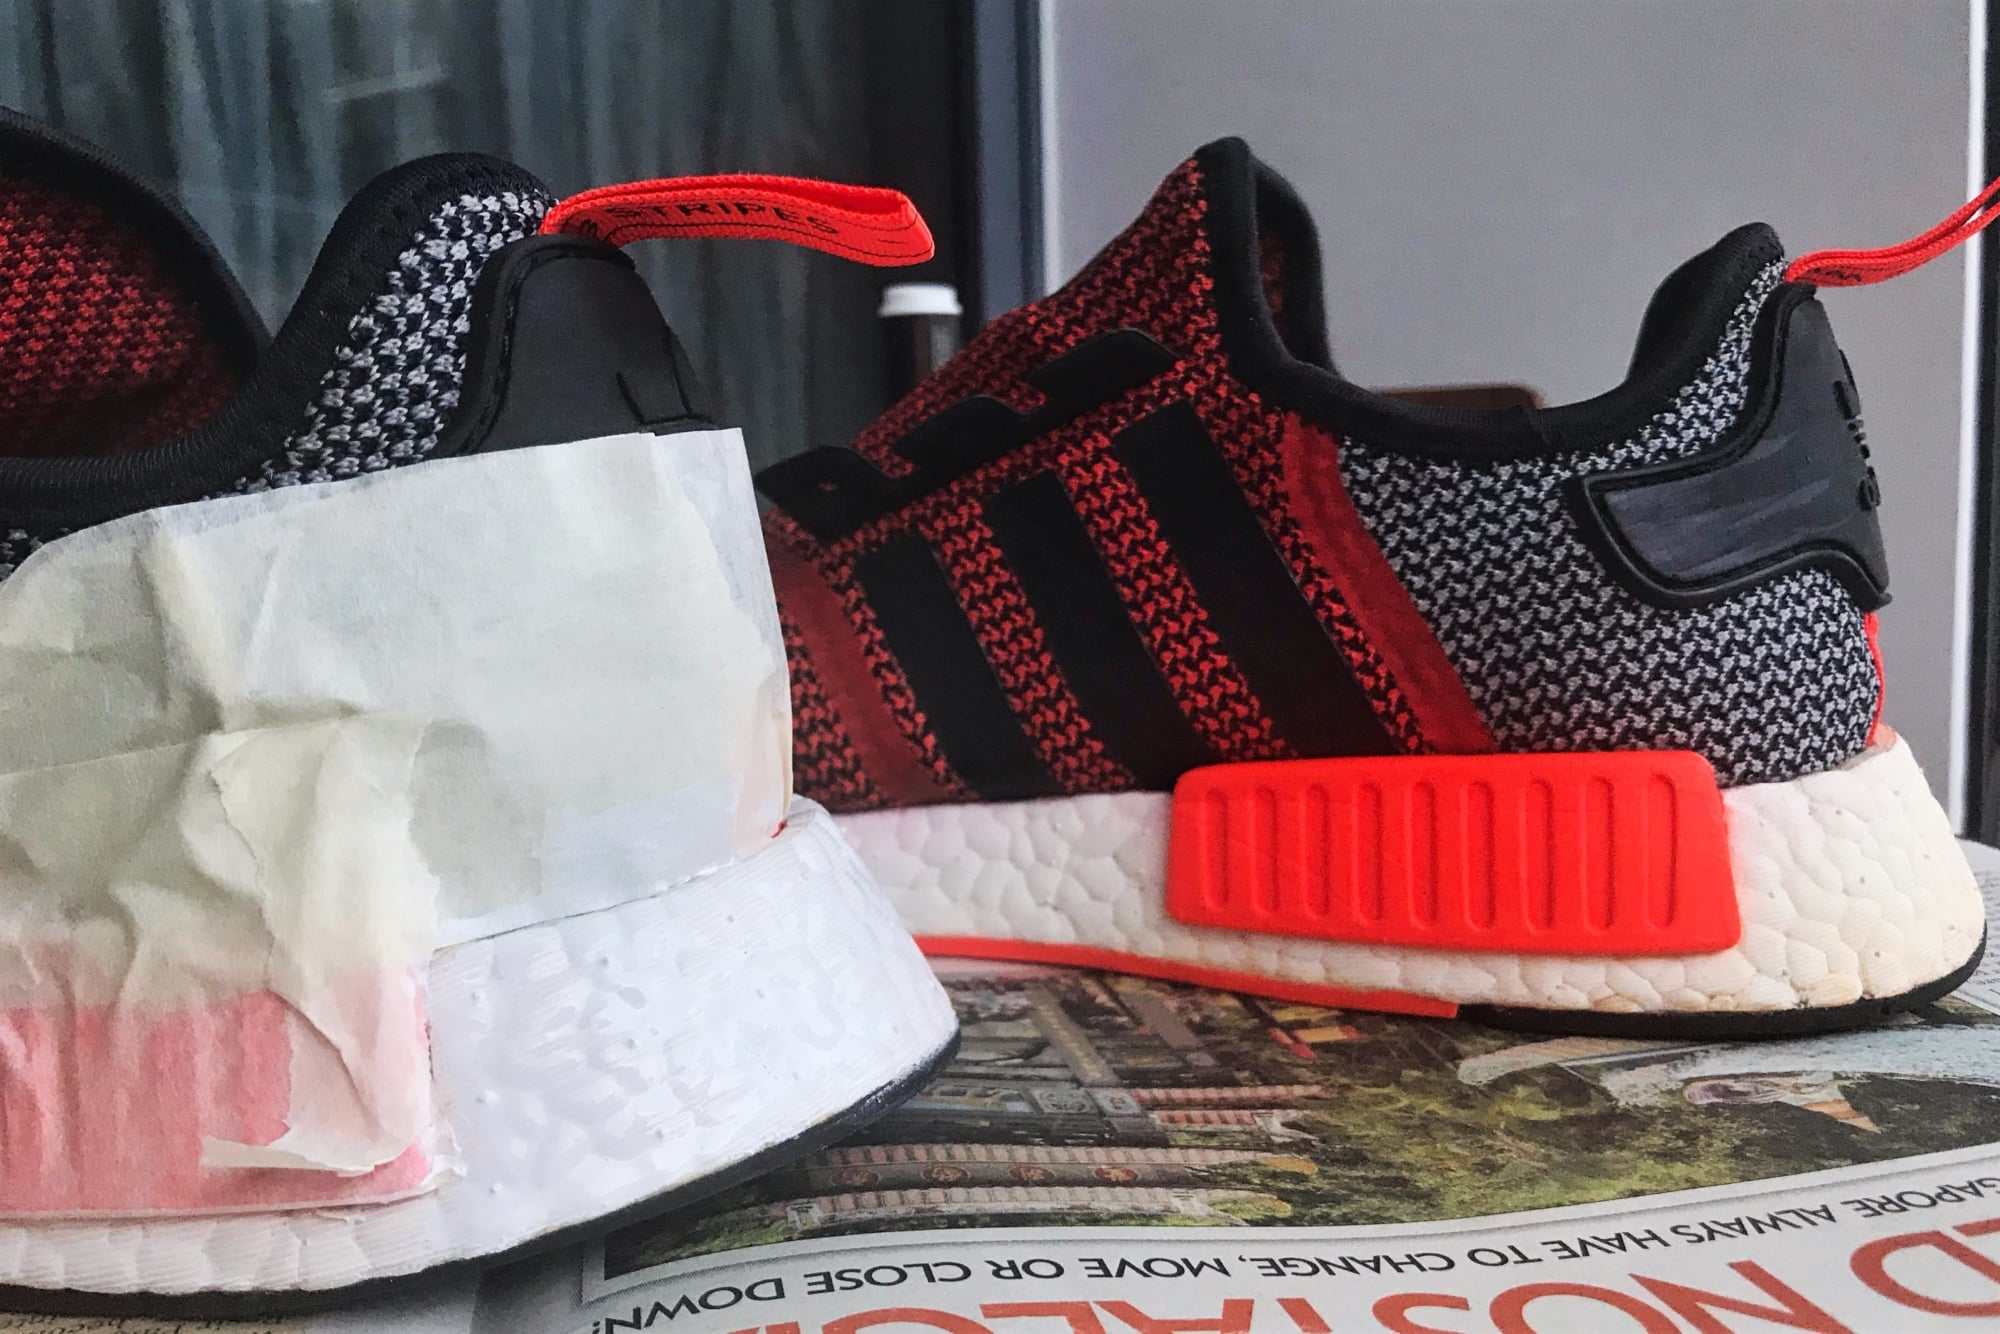
Below is the left side masked and painted with the first coat, while the right side in the background awaits the same treatment, fresh from the wash (and dried of course).
Going out of bounds is almost inevitable, especially for non-professionals and first timers. On hindsight, what I should have done the moment paint dried for both coats was to use a pen-knife to scrape extra bits of paint off the non-white areas. Paint is still flaky and easily removable at this time. After 24-48 hours, however, it really locks on to the material, and becomes a lot harder to remove without possibly damaging your shoe.
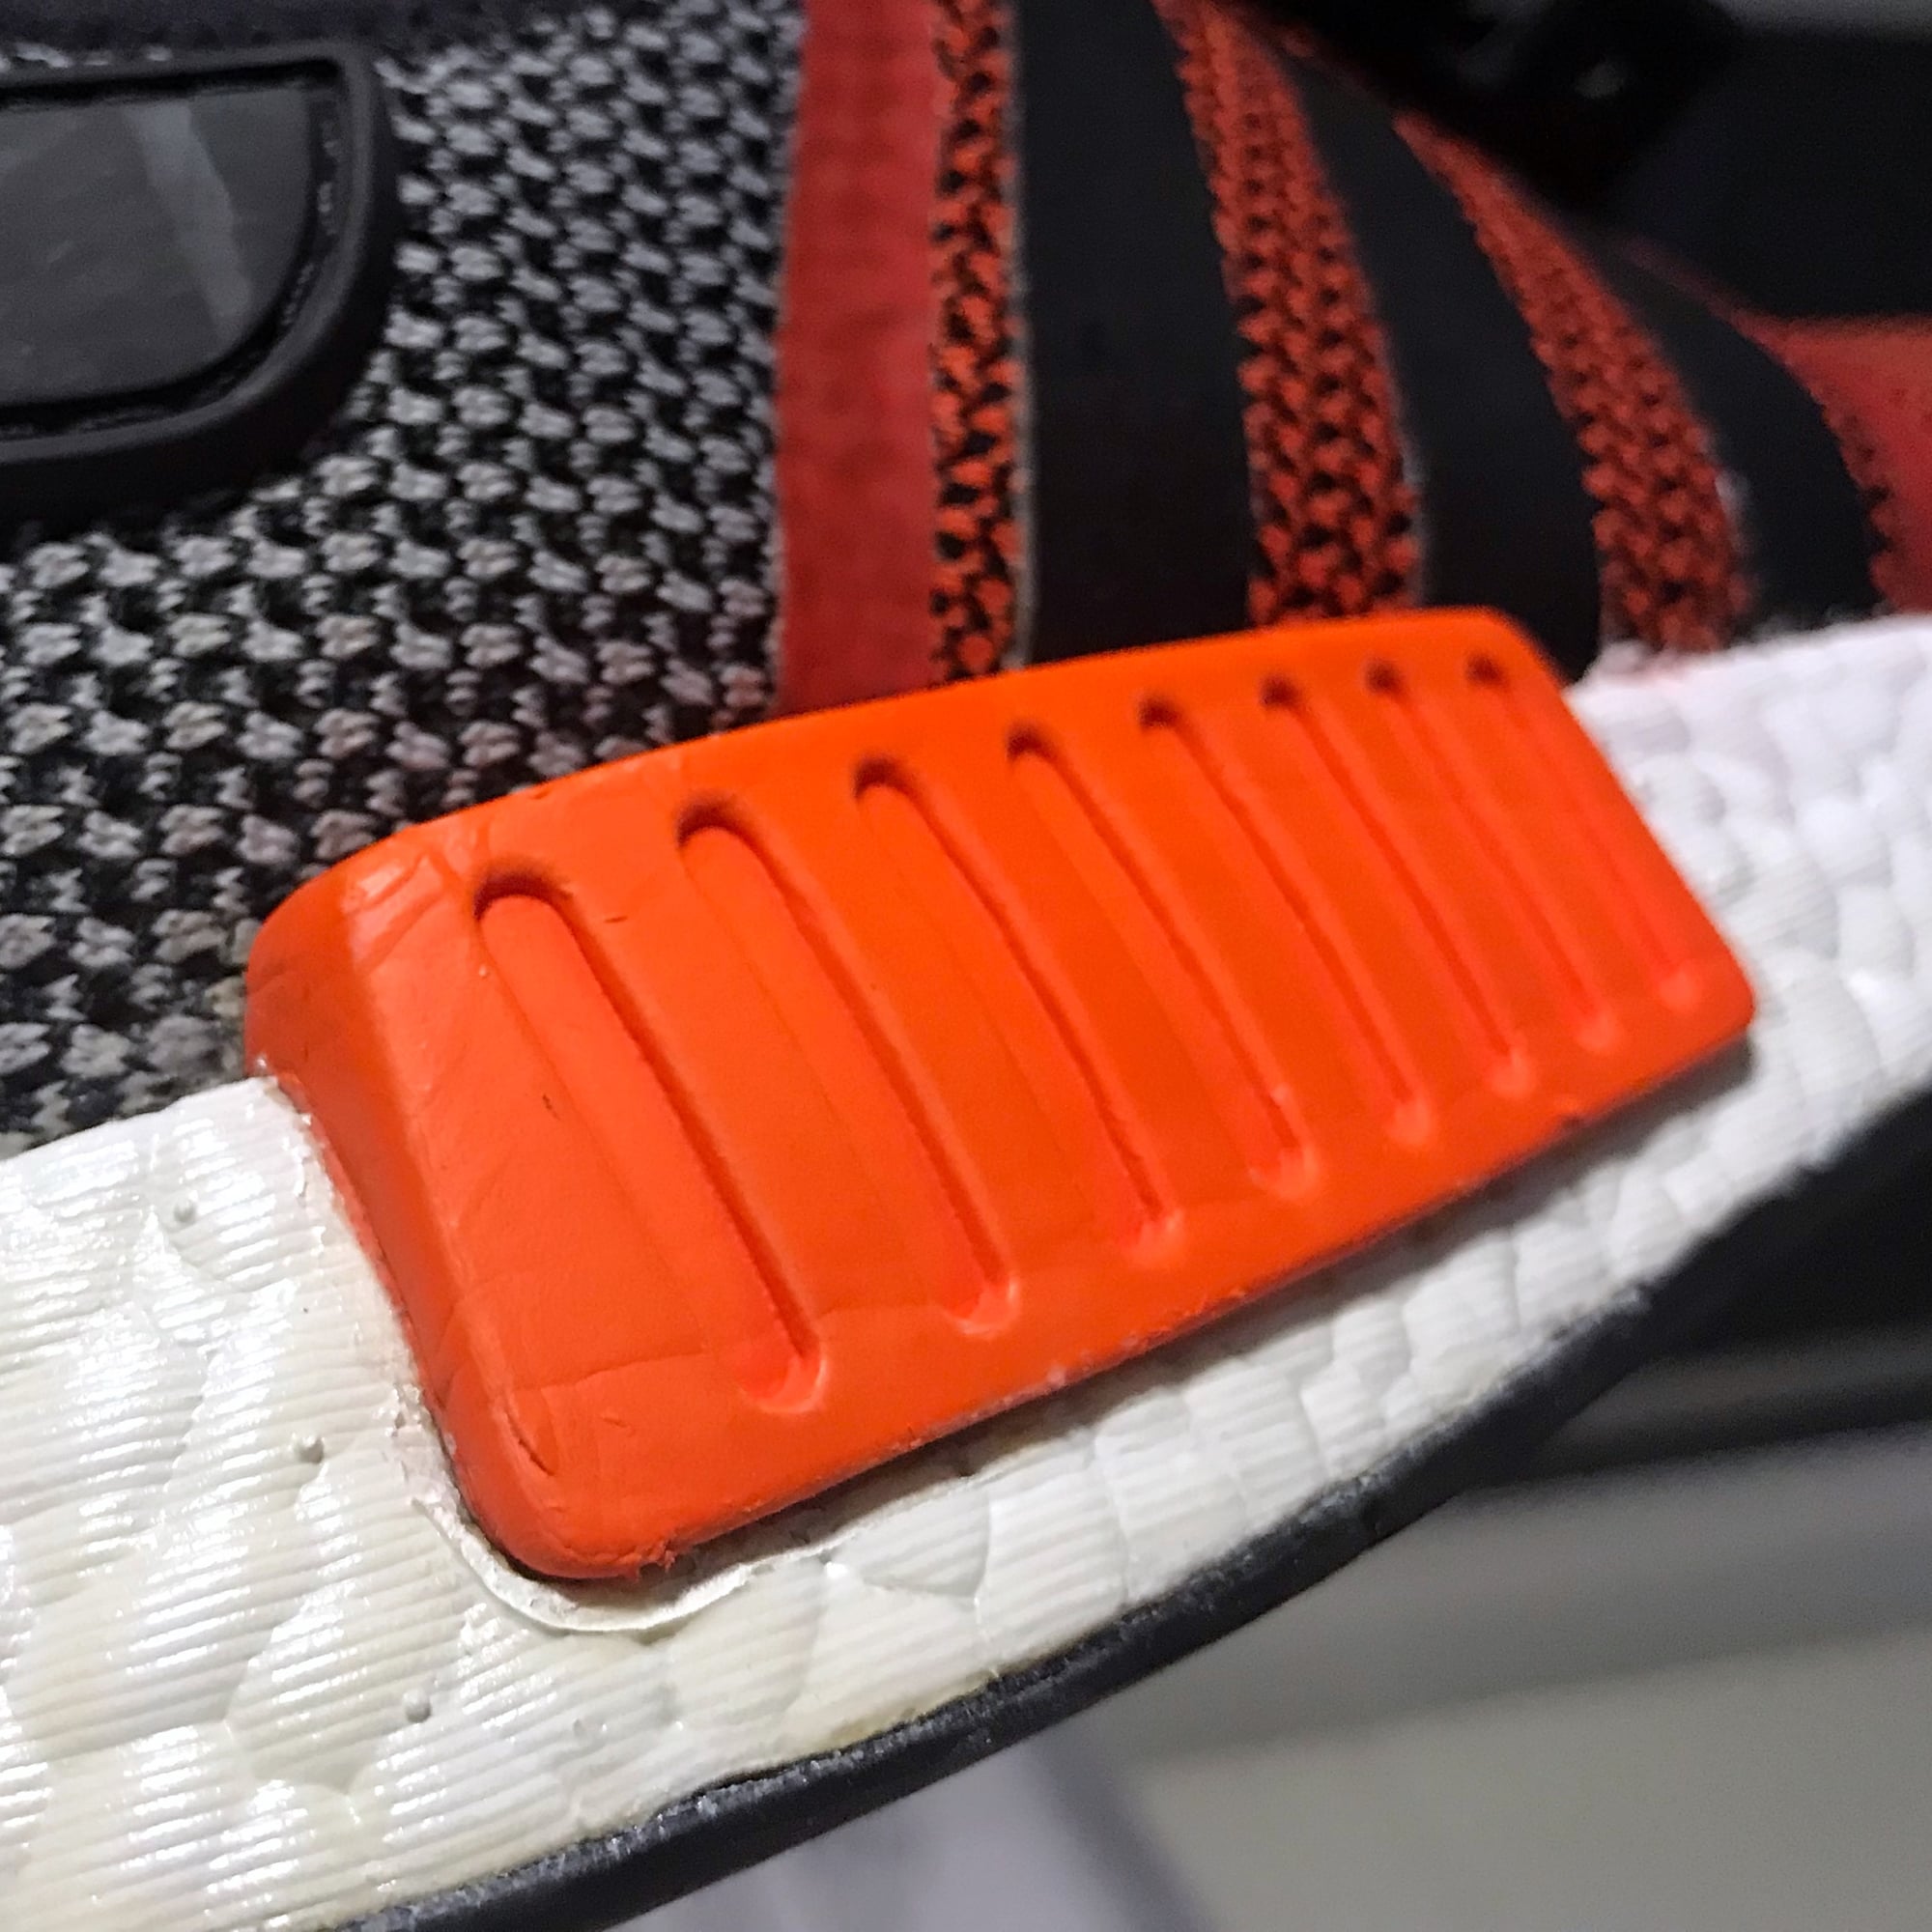
Step 3: Paint protection
This is basically repeating the same process, but with Originalab’s paint protector, or acrylic finisher (they seem to call it interchangeably). You should have some practice by now with the marker tip and liquid flow. Similarly, do a first coat, leave for an hour or two, and do a second coat, leaving it for 24-48 hours to cure completely before moving on to the next step. Below is the left shoe coated with (still-wet) acrylic finisher, while the right shoe awaits the same treatment with the fully dried white paint.
Here’s the thing: I’m rather disappointed with the paint protector. As you can see above, the white paint has done a pretty good job in covering up the original material below, while maintaining a matte finish (slightly glossier compared to the original rubber, but not noticeable unless it’s examined up close). The paint protector significantly added more gloss to where it’s been applied. It remains to be seen whether this acrylic layer will yellow in time. If so, I can exclusively reveal to you that I will not be happy about that.
If you intend to apply water repellent after painting, you may want to skip the paint protector step. That said, if it does work as advertised, this clear layer will be a one-time application that will protect your paint and midsole for a long time.
Alternatively, the Originalab website itself does market a matte version of the acrylic finisher. You may want to try your luck with this.
Step 3.5: Mask removal
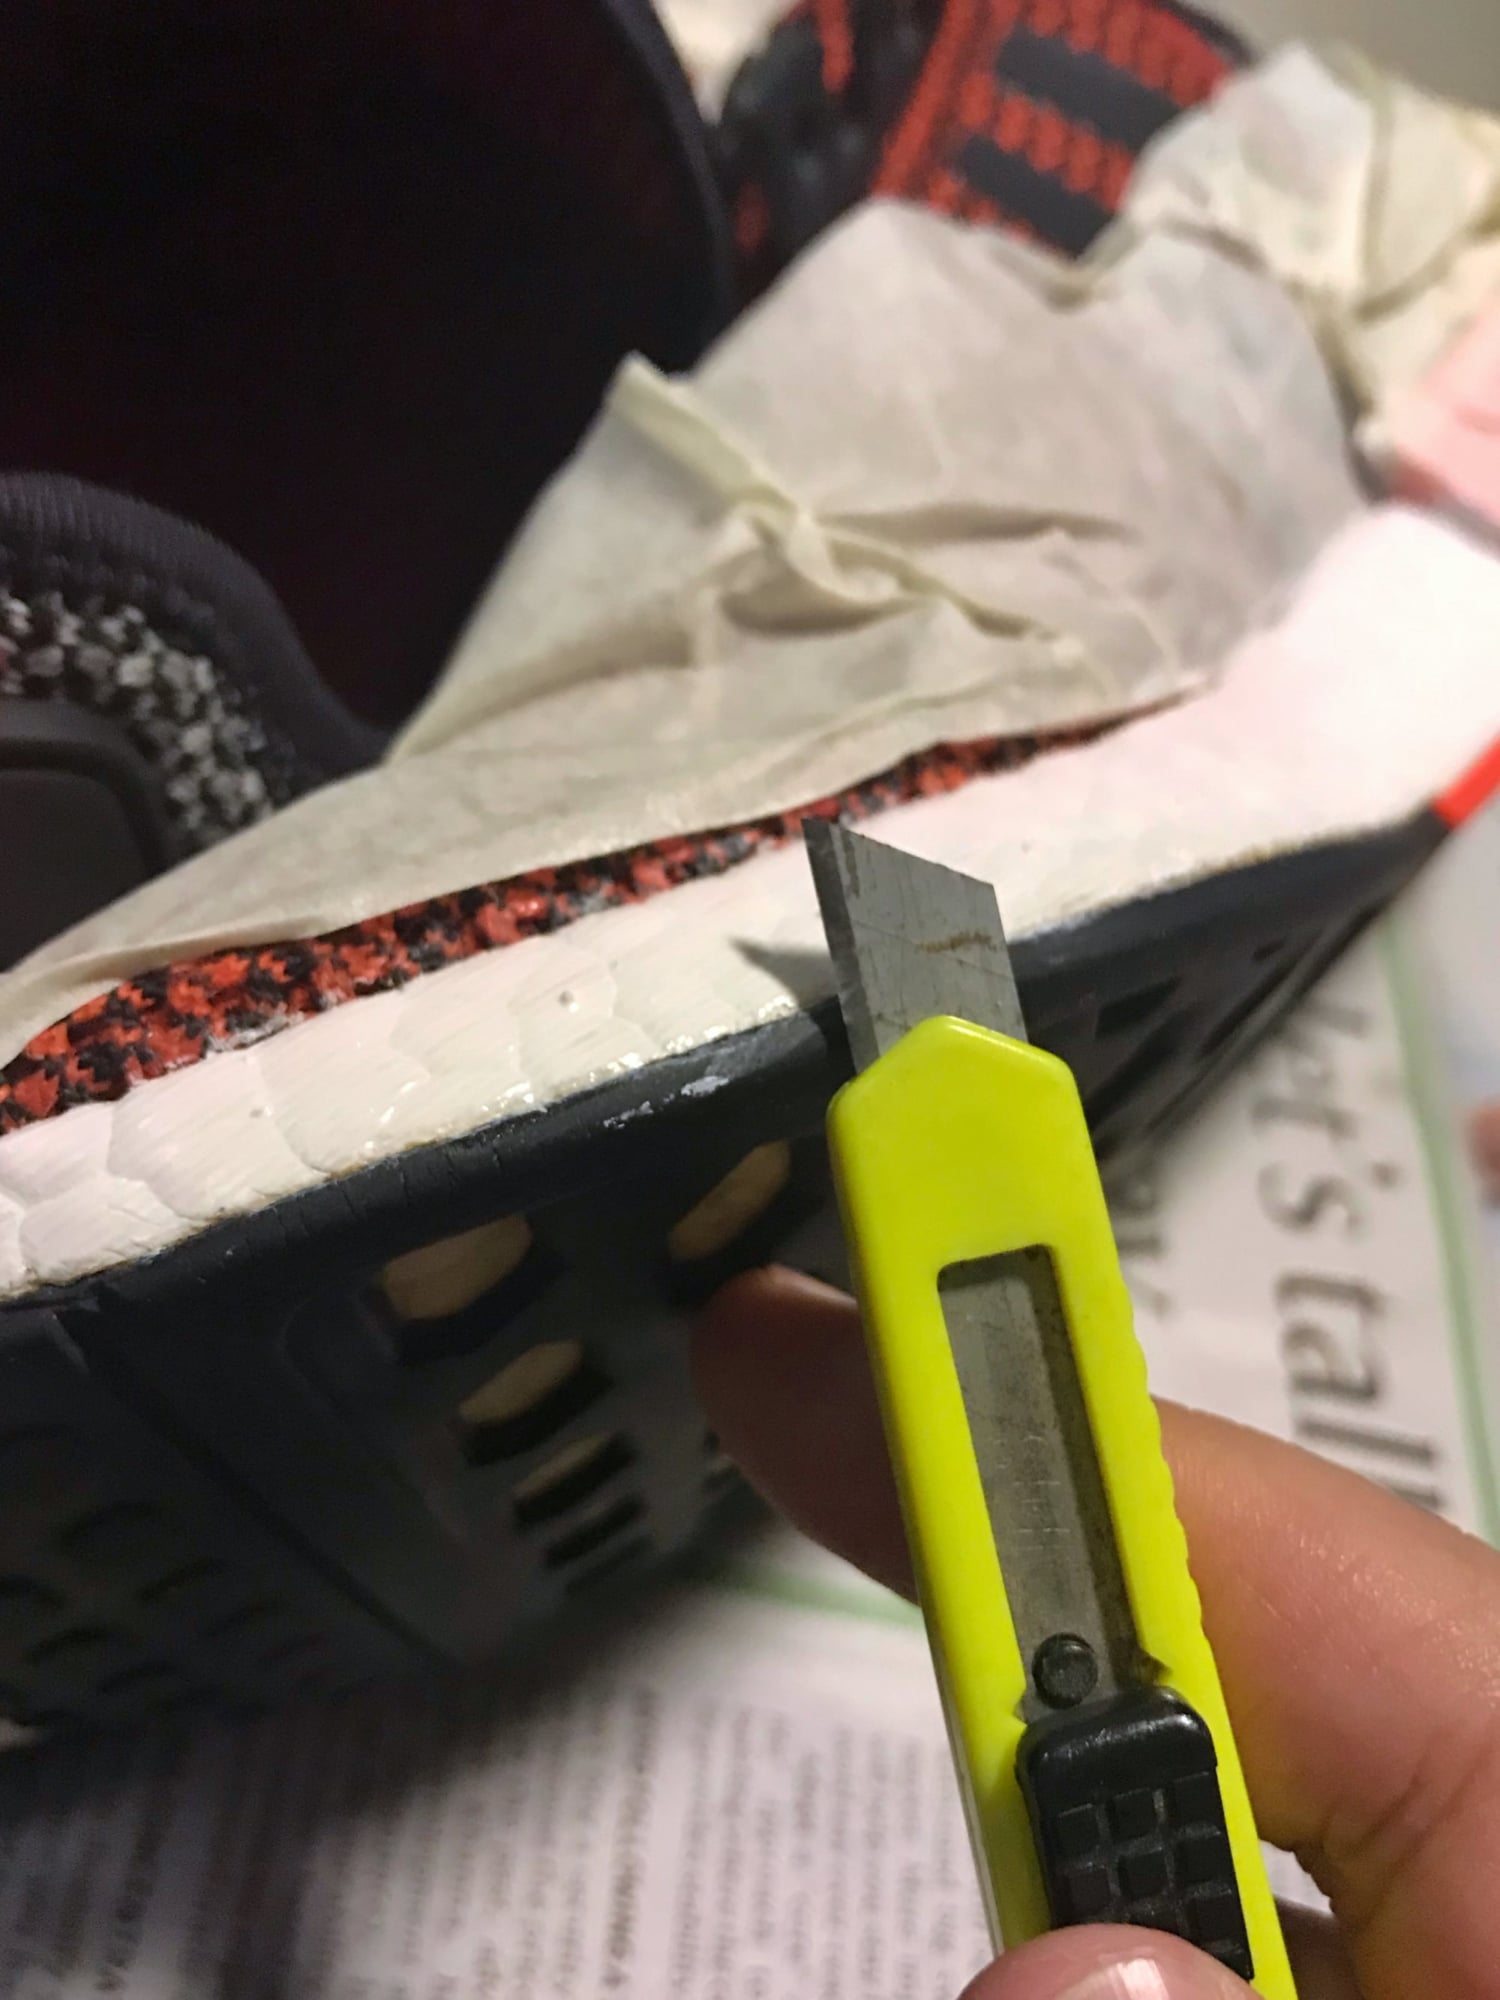
Before embarking on the final step, it was finally time to remove the protective masking tape. At this point I also tried to use a pen-knife to scrape extra paint marks off non-white areas. However as mentioned above, the paint had already hardened and adhered to the surface by the time I did this, making it almost impossible to remove. Remember to do this earlier, just after the paint coats dry.
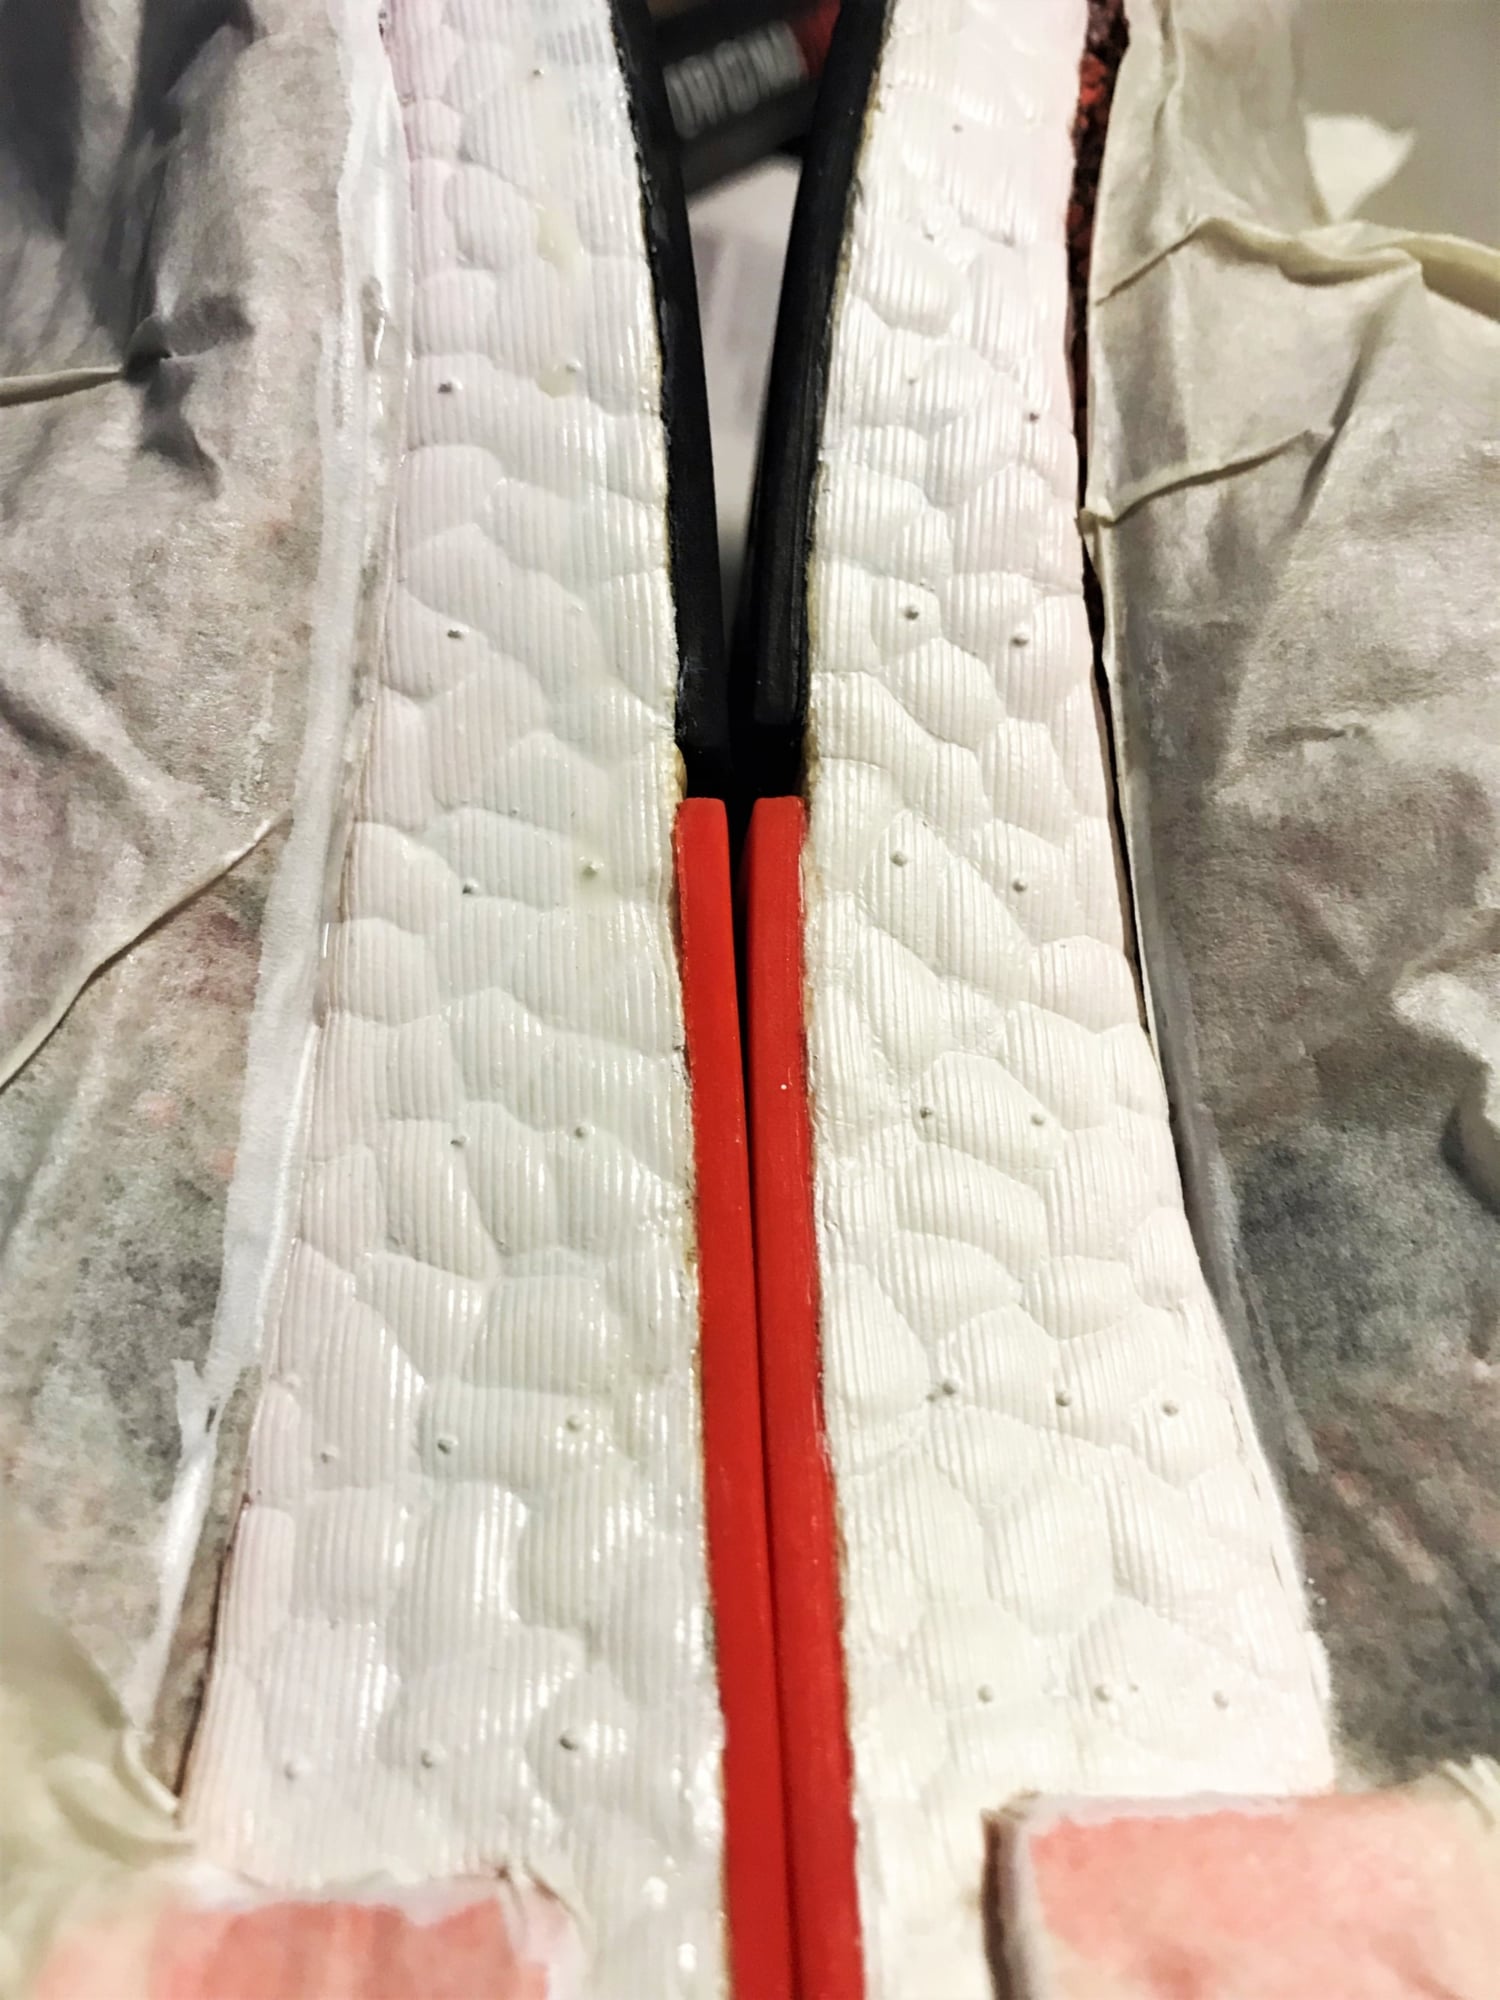
For major parts of your midsole like the NMD’s signature rubber accents, don’t be too quick to pull the masking tape off. Having painted over the tape, pulling the tape away too quickly may also lift the paint layer and destroy your hard work. Take this one slowly and carefully. Use pen-knifes to make incisions to help with peeling off the tape if necessary.
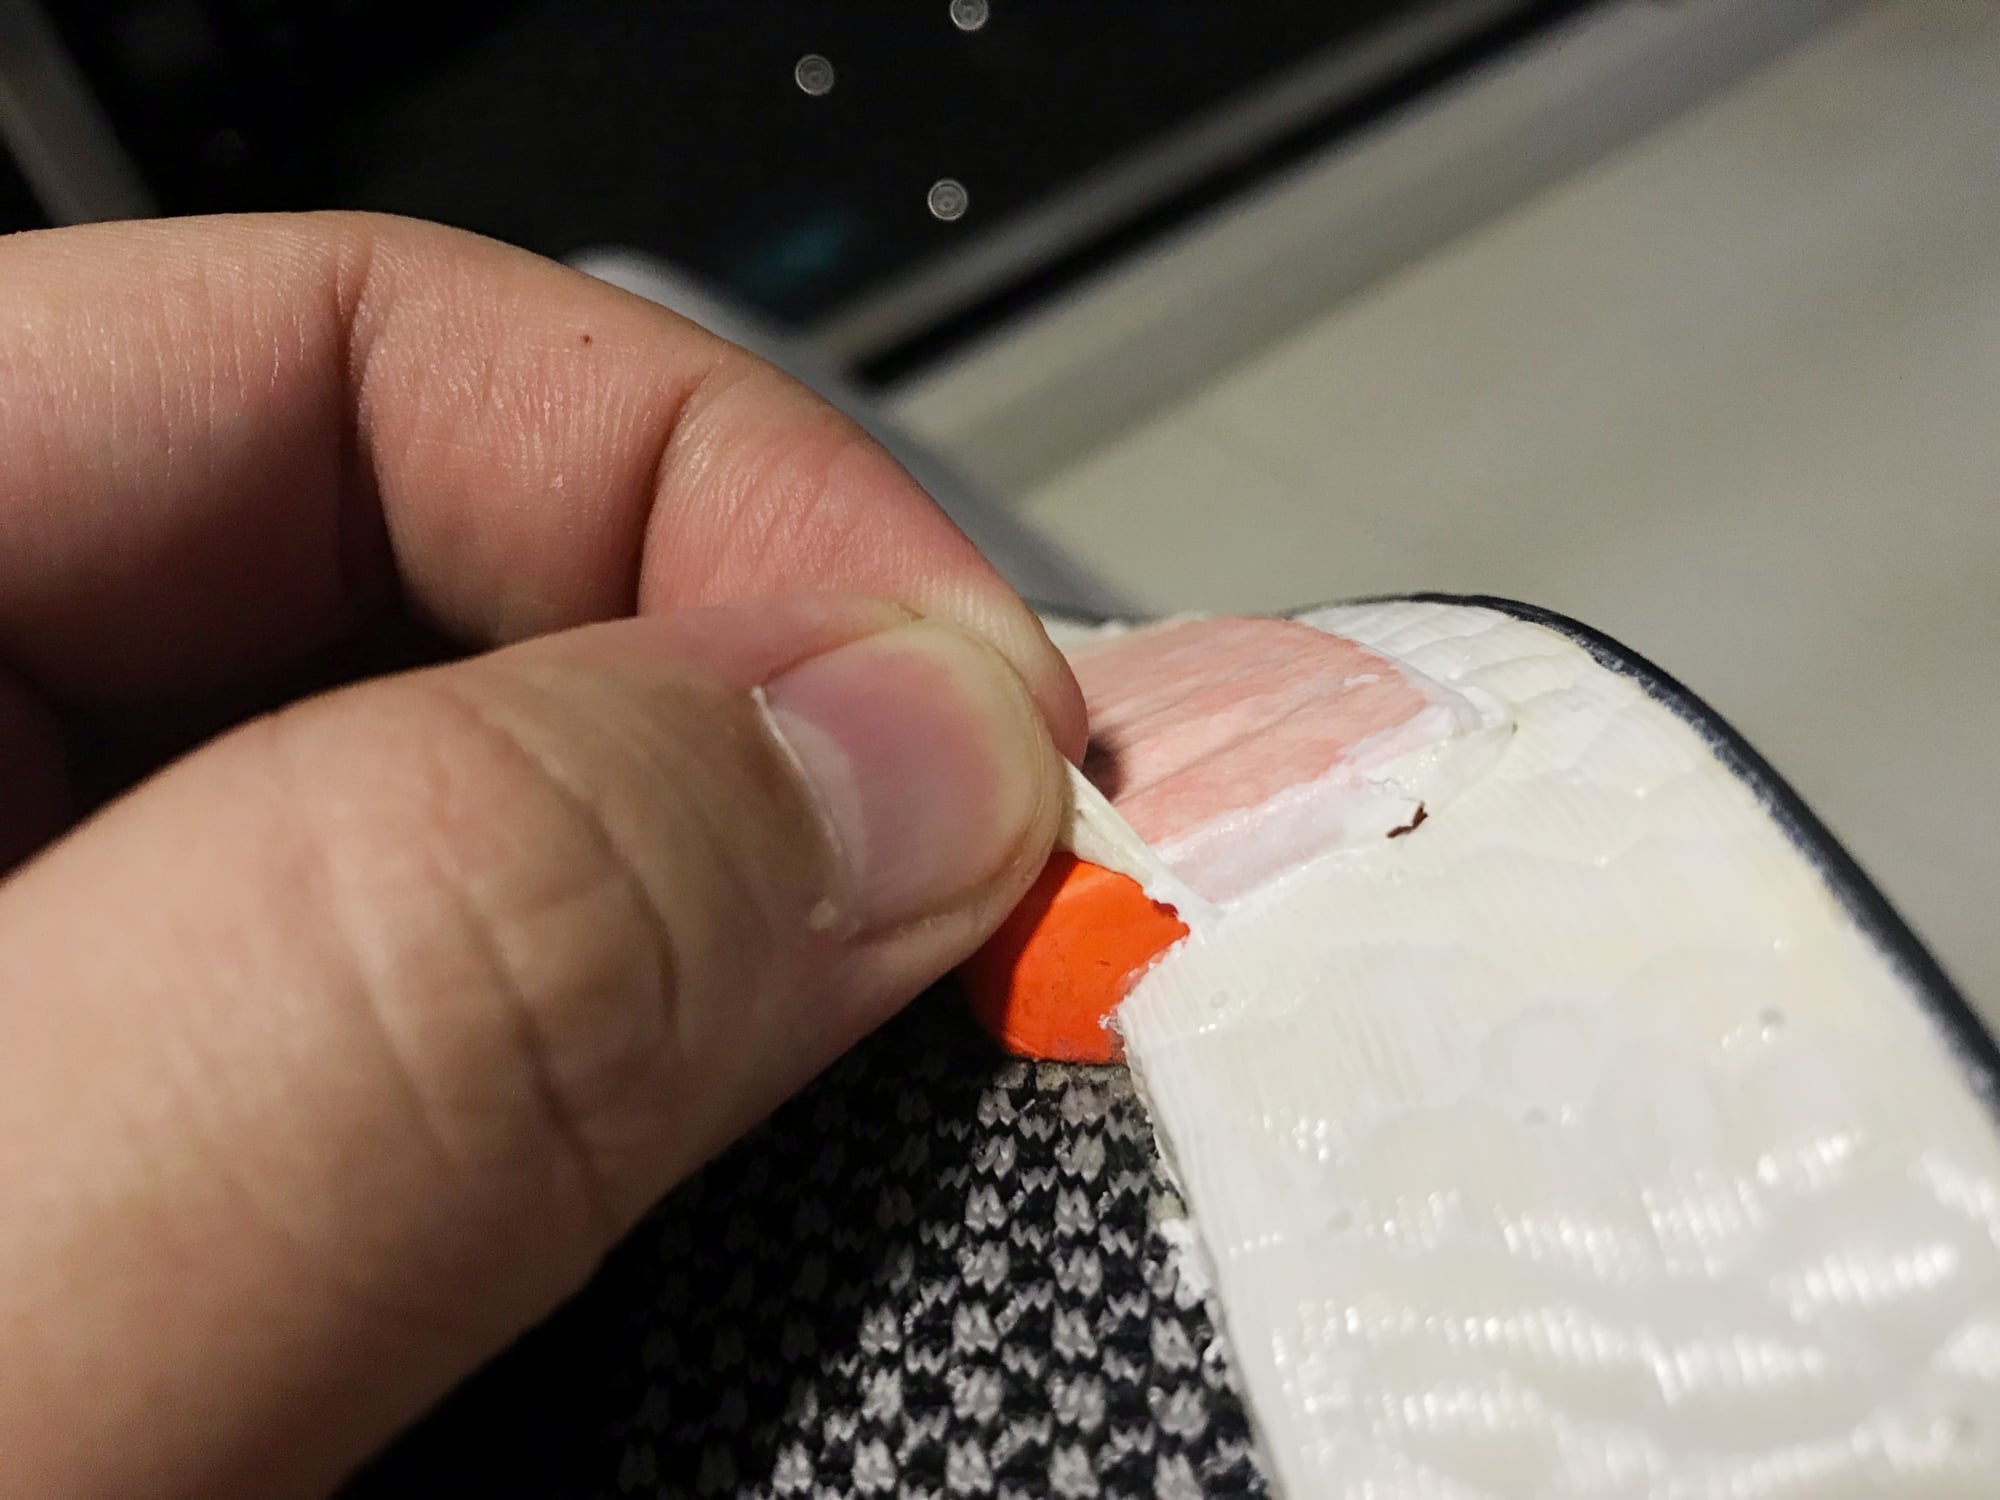
Here’s also why you should take extra care in pasting your masking tape properly, with as little excess tape as possible, and avoid applying too much paint. The paint wasn’t too even in this area and pooled together in a big lump that, again, is hard to remove when it’s been cured for days. Excess tape also prevented a spot or two from getting painted.
None of this should be too visible to people eyeing your new-looking kicks, but if you’re looking to resell your shoes after restoring them, well… just don’t be dishonest. People aren’t stupid.
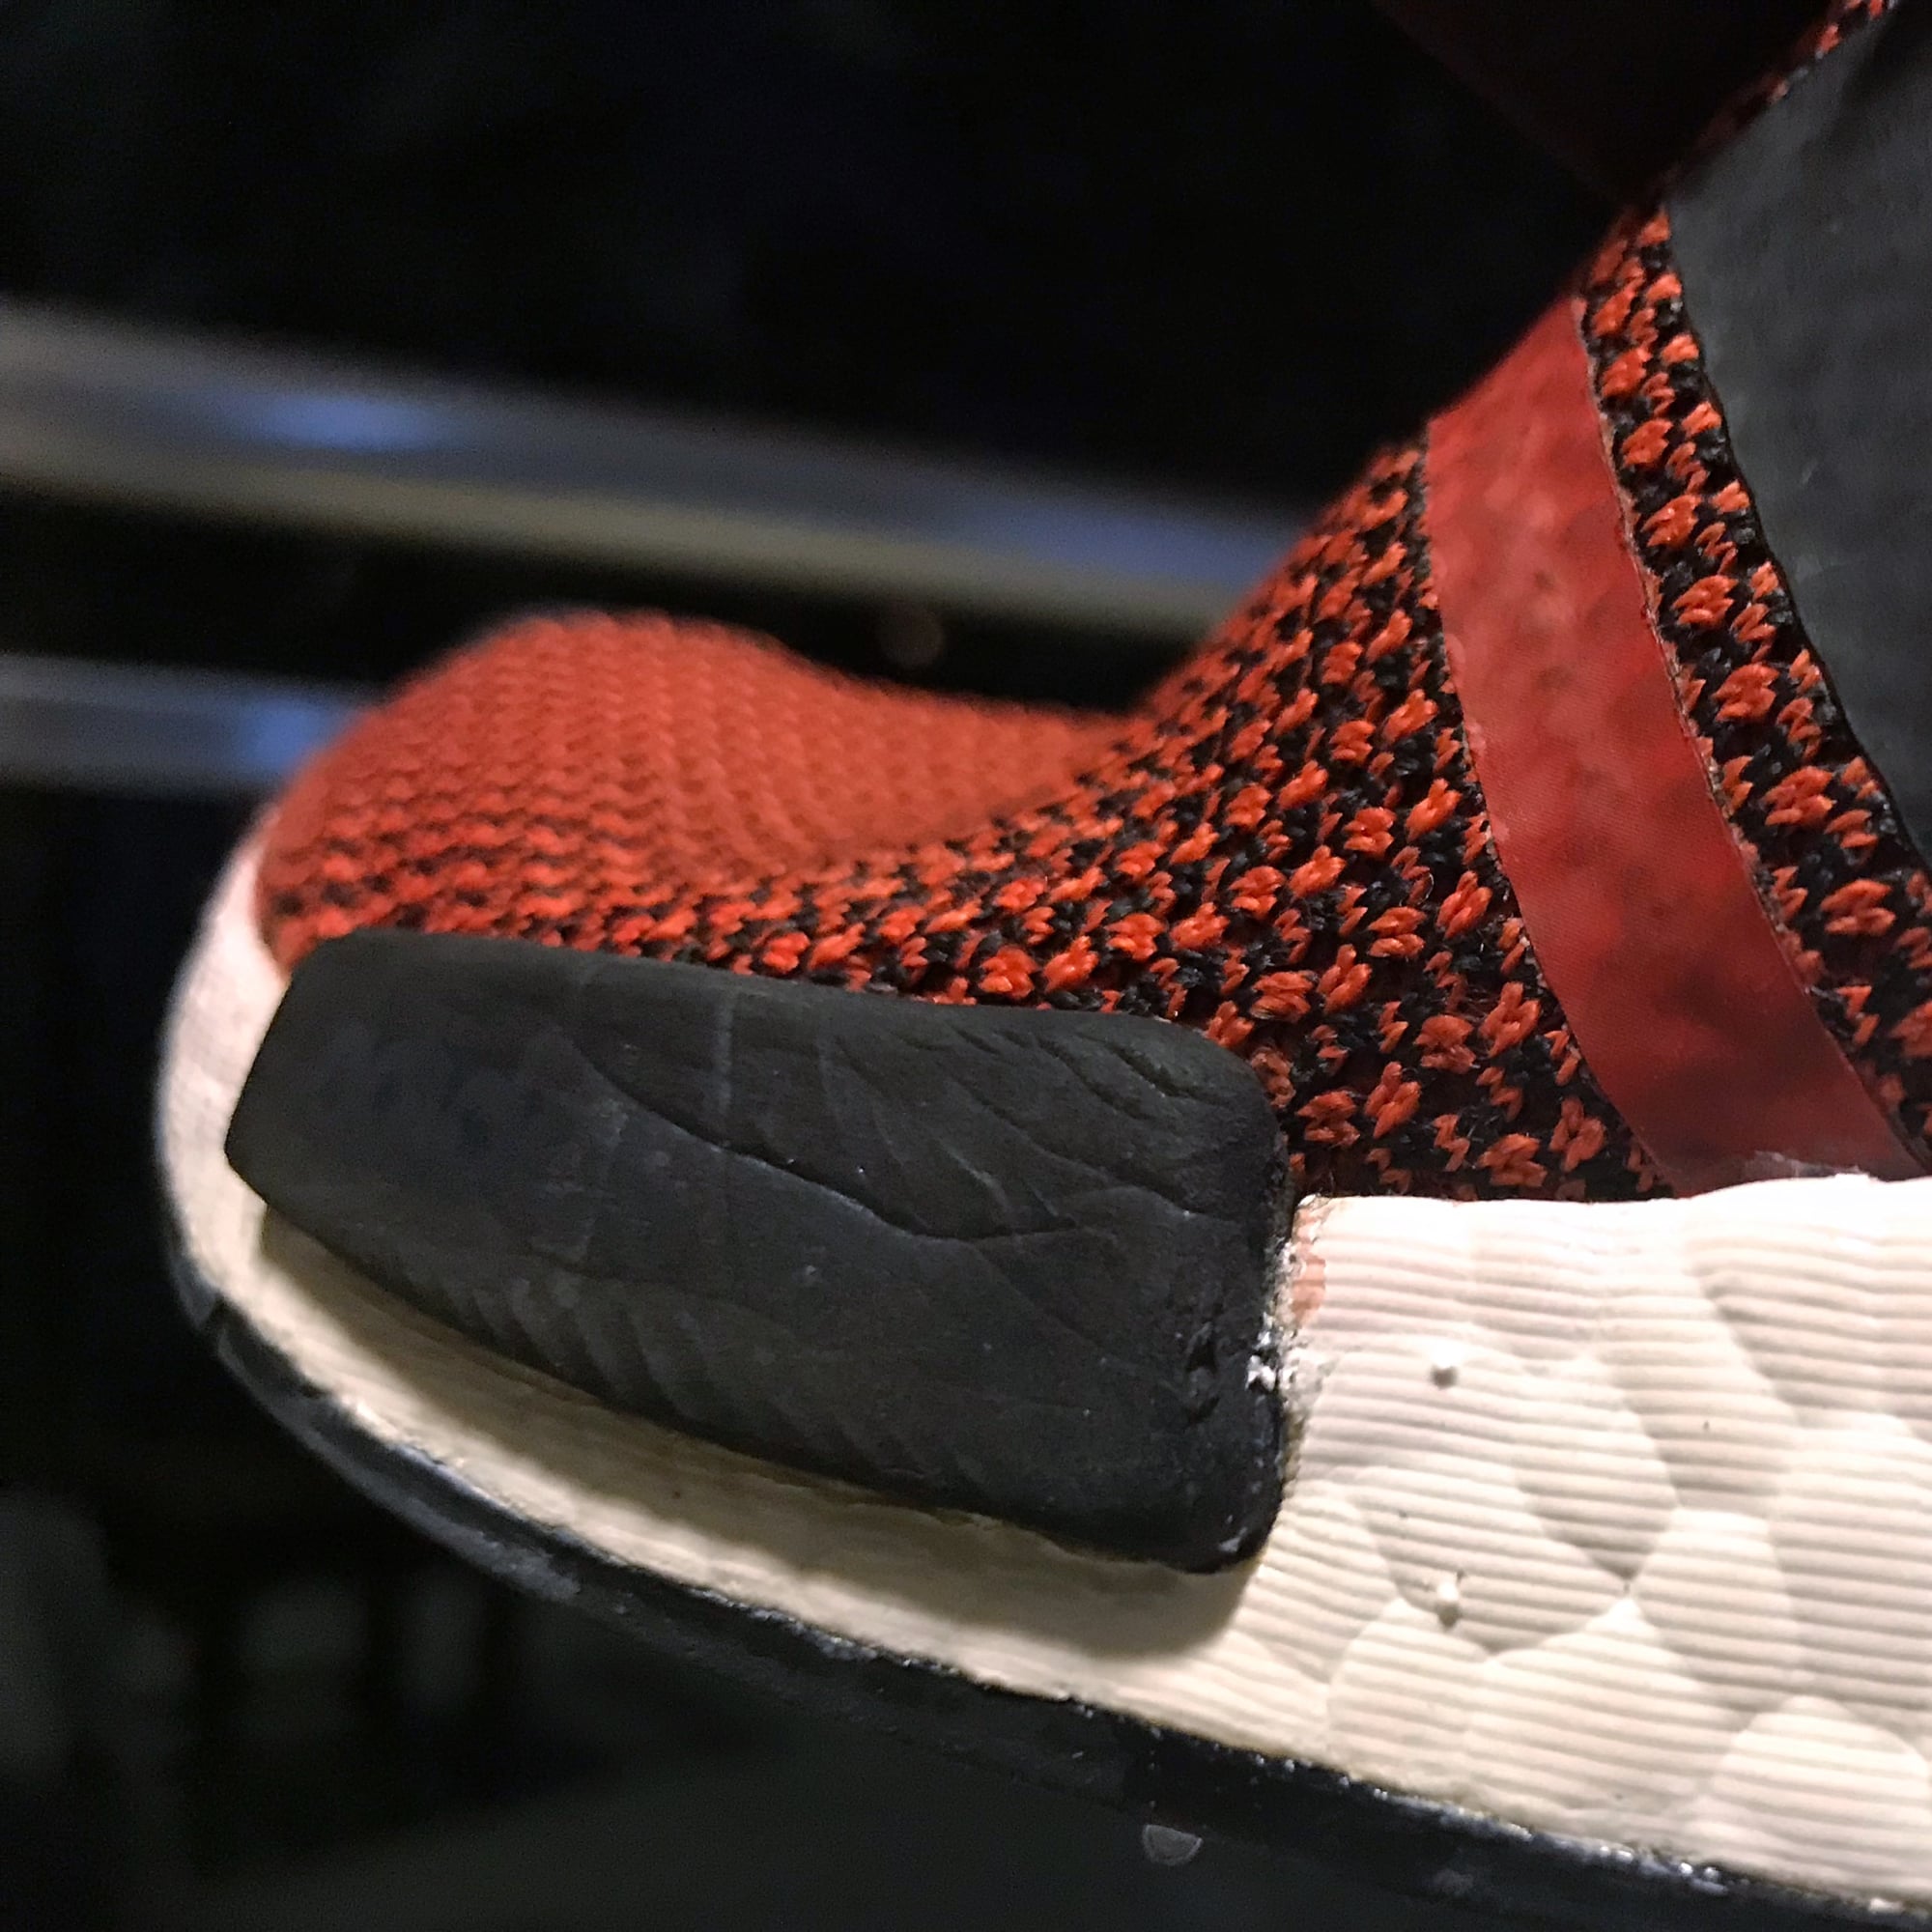
Step 4: Water repellent
You’ll want to do this in an openly ventilated, but not windy area. The Express formula comes in a good old spray can, complete with slightly intoxicating fumes. That means a nice, even application of the liquid, but also quite a lot of wastage, particularly if there’s a breeze around you.

I’ve previously used Jason Markk’s Repel, a much finer repellent film that takes a whole 24 hours to dry per coat (water repellent solutions all typically recommend 2-3 coats). The Originalab Express formula, named as such because it dries and readies your shoes much faster, dries sufficiently within an hour of the first coat for you to apply the second coat, which has instructions to let it “dry completely” (I left it for 24 hours). However, it does add a kinda rubbery sheen to your shoes, which you may or may be okay with, and which feels like it just may be a dry dirt/dust magnet (ironic).
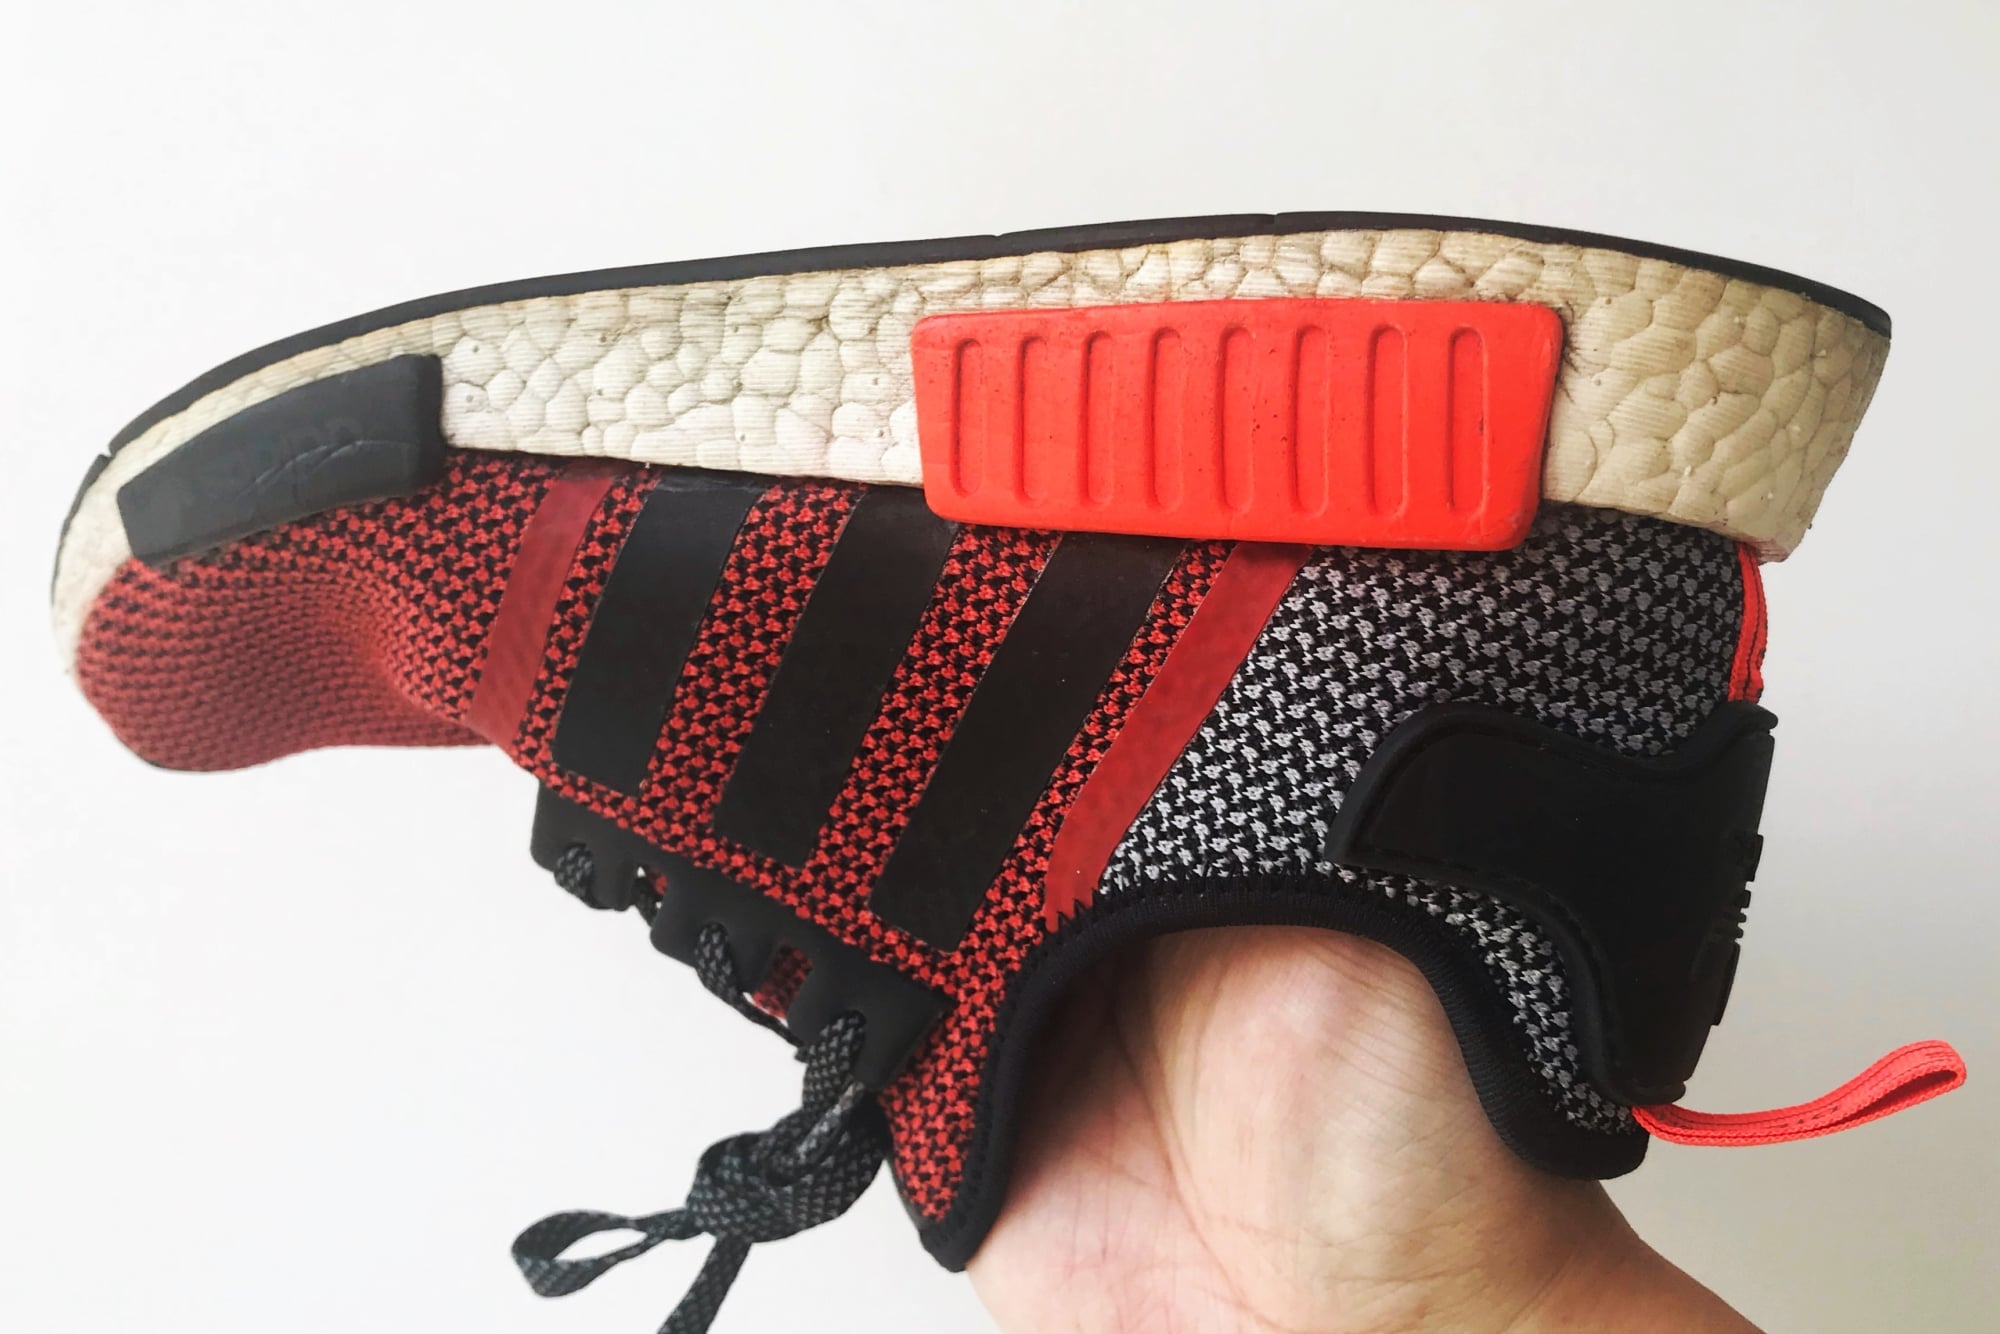
The good news though is that a splash of water over your shoes should make this dust, if any, roll right off. Here’s me testing the repellent.
Originalab’s Express repellent feels a lot more hardy than Jason Markk’s Repel. I previously applied three generous coats on these same pair of shoes, and while the water rolled off the surface bombastically, I found out later that quite a significant amount of water actually did seep through. With Originalab, you could feel some dampness in the shoe after a splash like this, but nowhere near enough to get your socks uncomfortably wet. And that makes me happy.
It also turns out that the application of the water repellent layer had a side effect of reducing the gloss created by the acrylic finisher. If I hadn’t used that, the midsole may well look even closer to the original texture.
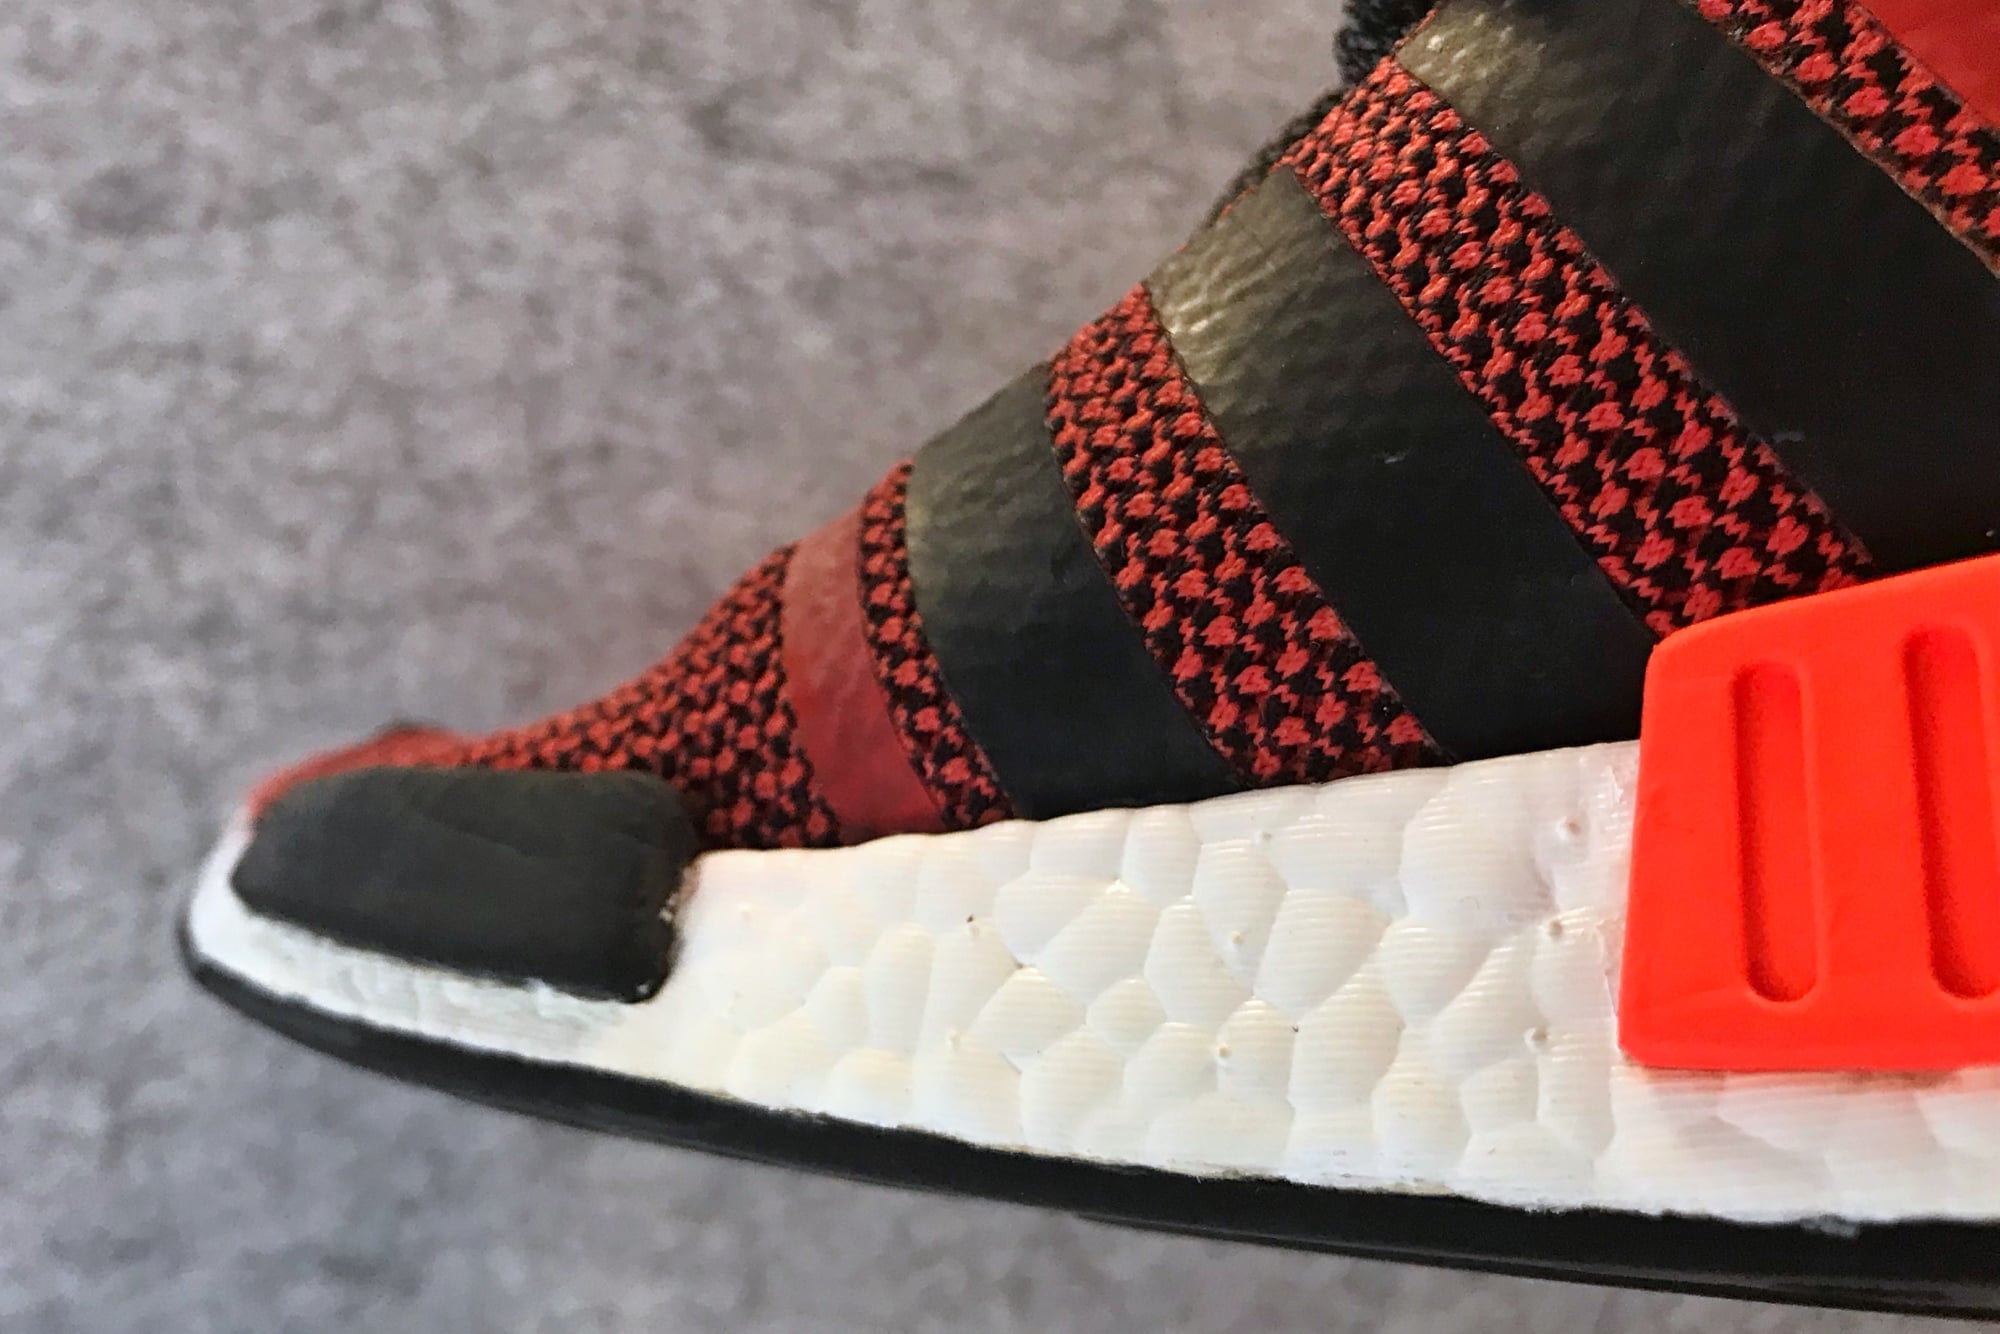
Final thoughts
Before 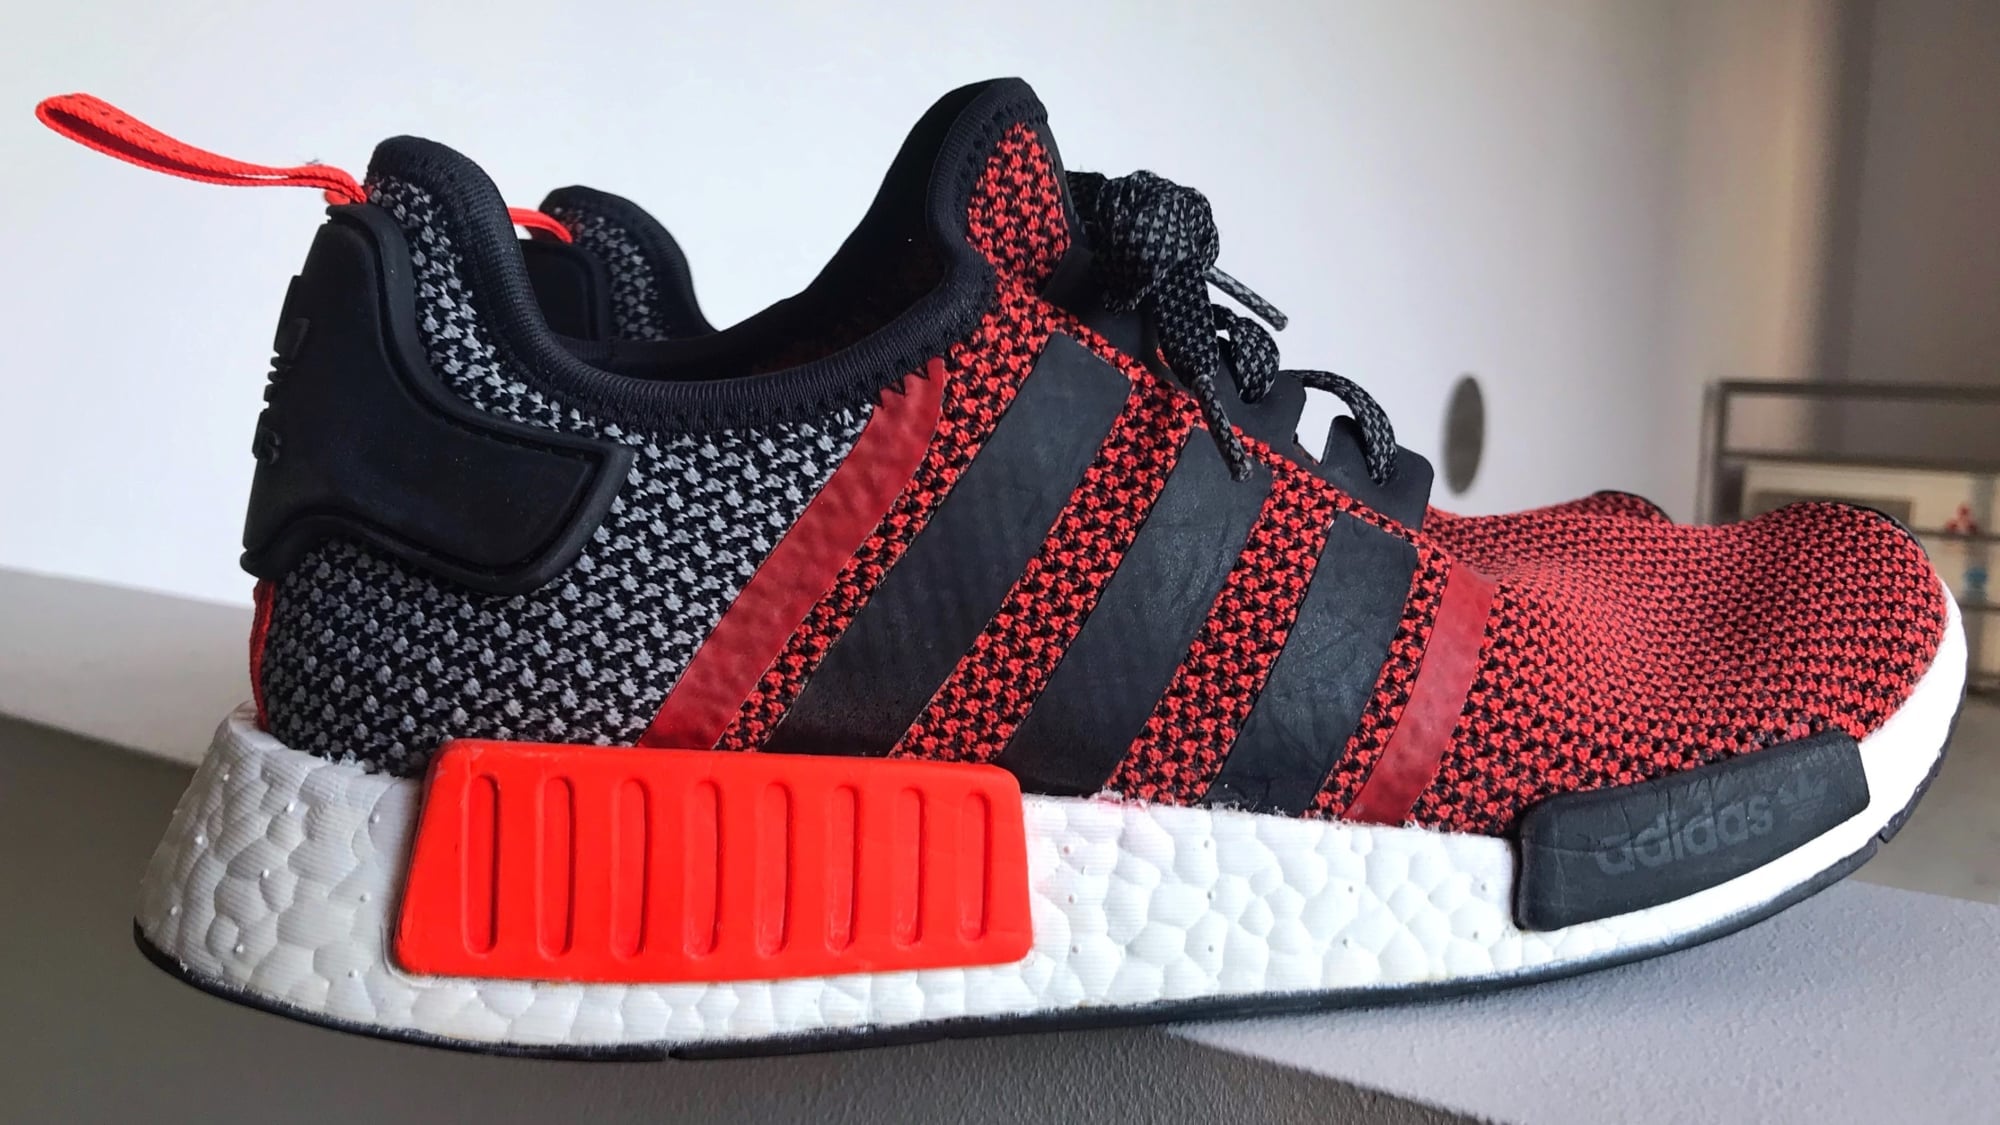
After
Of the 3 products I got from Originalab, I was impressed with the white paint marker and water repellent. The paint protector marker may prove its worth in time, but it really didn’t give the best first impression, especially to sneakerheads who want to restore their precious and beloved kicks to looking as new and natural as possible, not add conspicuous layers onto it.
It is quite an individual choice whether these products will work for you and your sneakercare needs, but my hope in writing this review is that you find some practical perspective and impression of what you will actually be doing to your shoes. If you found this useful, or if you have any other sneakercare protips to share, leave us a comment below!


